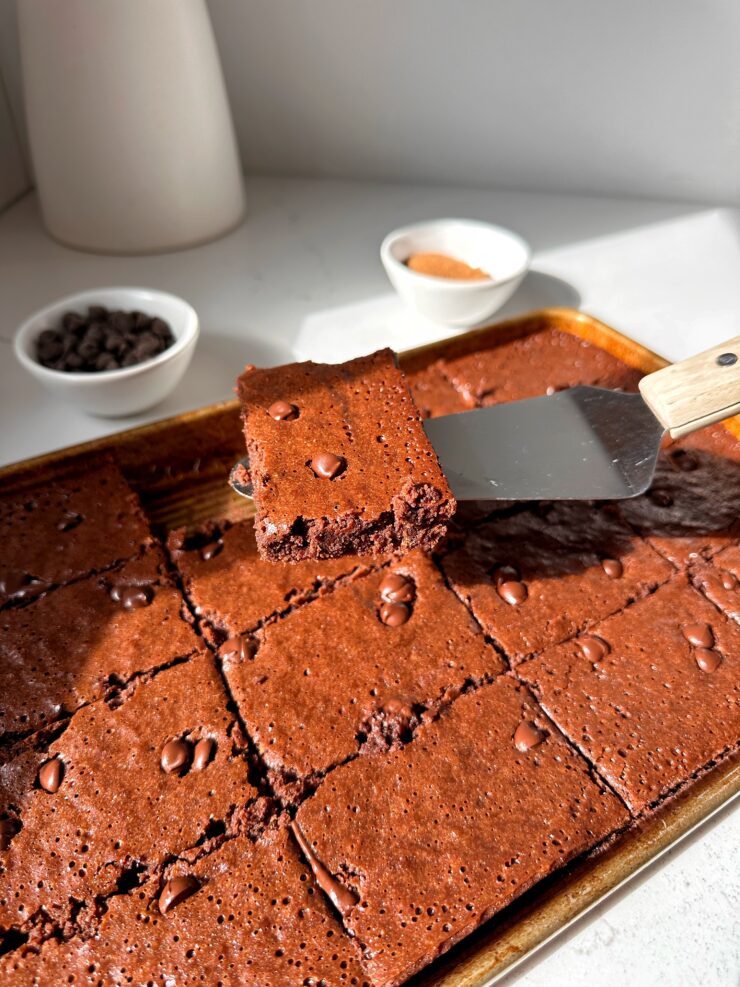
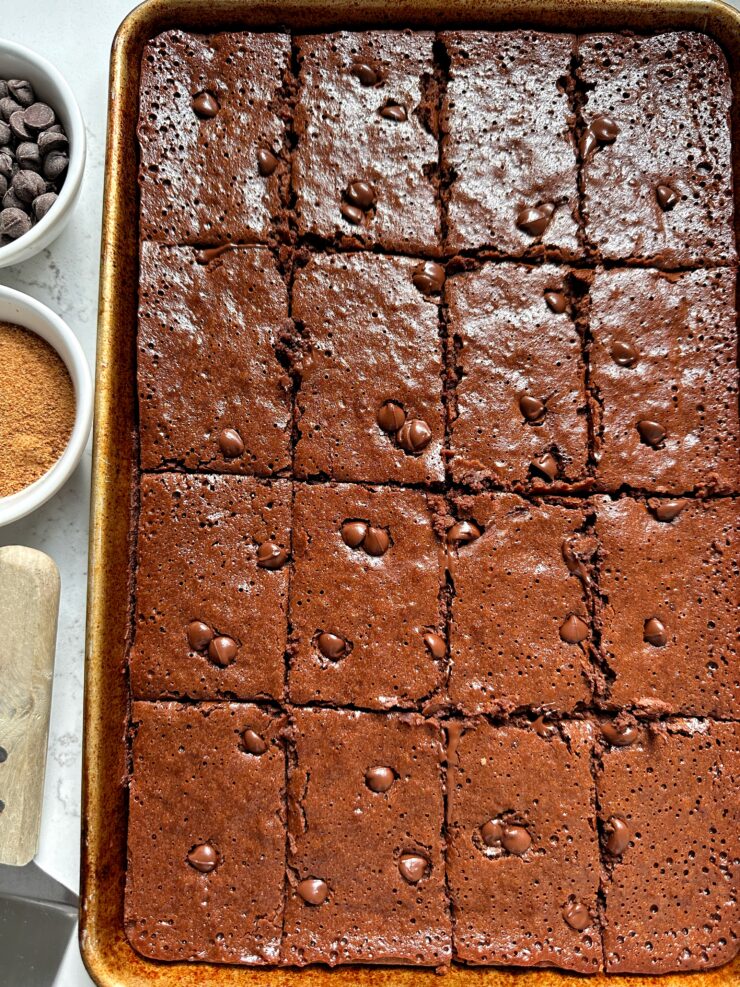
Looking for the best ever brownie recipe? Look no further than these Sheet Pan Brownies! Made with gluten-free ingredients, these are a delicious dense, fudgy and extra chocolatey brownie to make. Perfect for a crowd or any time the craving for brownies strikes.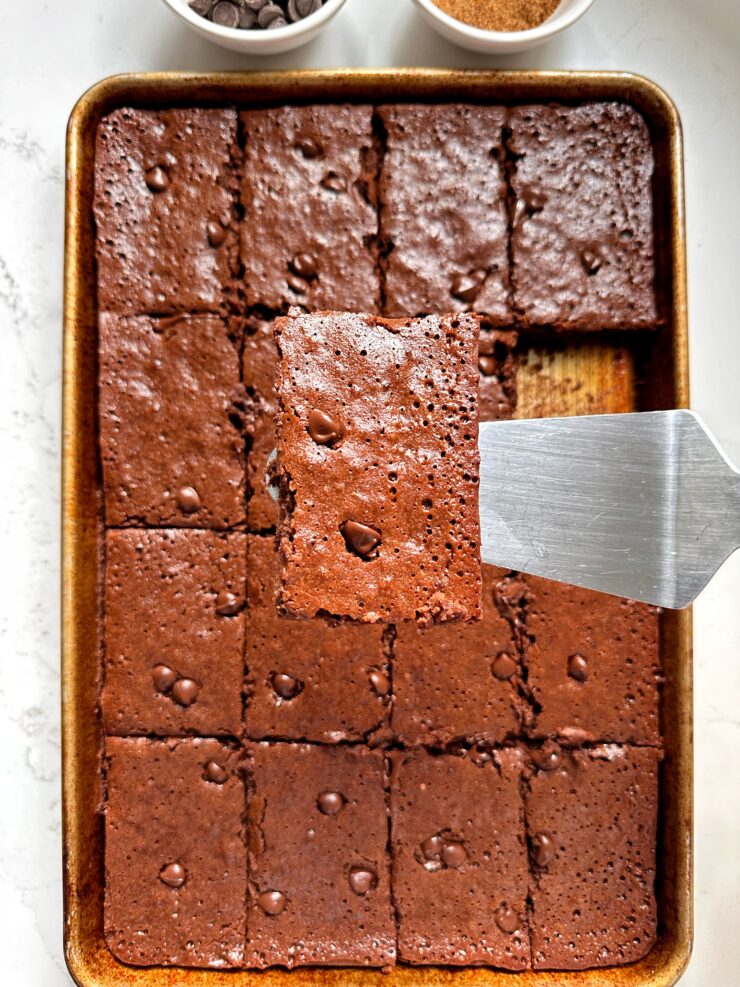
If there’s one dessert that stands out as universally loved, it’s the classic brownie. But what if I told you there’s a way to simplify the brownie-baking process without compromising on that gooey, chocolatey goodness? Enter: Sheet Pan Brownies—the perfect dessert solution for those who want big, shareable, fudgy squares with minimal hassle and maximum flavor. Whether you’re baking for a crowd, meal-prepping for a week of treats, or just in the mood to indulge, these sheet pan brownies offer a perfect blend of flavor, texture, and convenience.
Why Sheet Pan Brownies?
Baking brownies in a sheet pan rather than a traditional square or rectangular pan comes with several advantages:
- Efficient Baking: The larger surface area allows for even baking, reducing the time required to get that perfect gooey center.
- Perfect for Sharing: A sheet pan yields more brownies, ideal for gatherings, events, or just to share with family.
- Customizable Thickness: You can adjust the thickness of your brownies by choosing a sheet pan of varying sizes or creating a border with foil. This recipe works best with a 14 x 10 pan.
Ready to dive into the details? Let’s get baking.
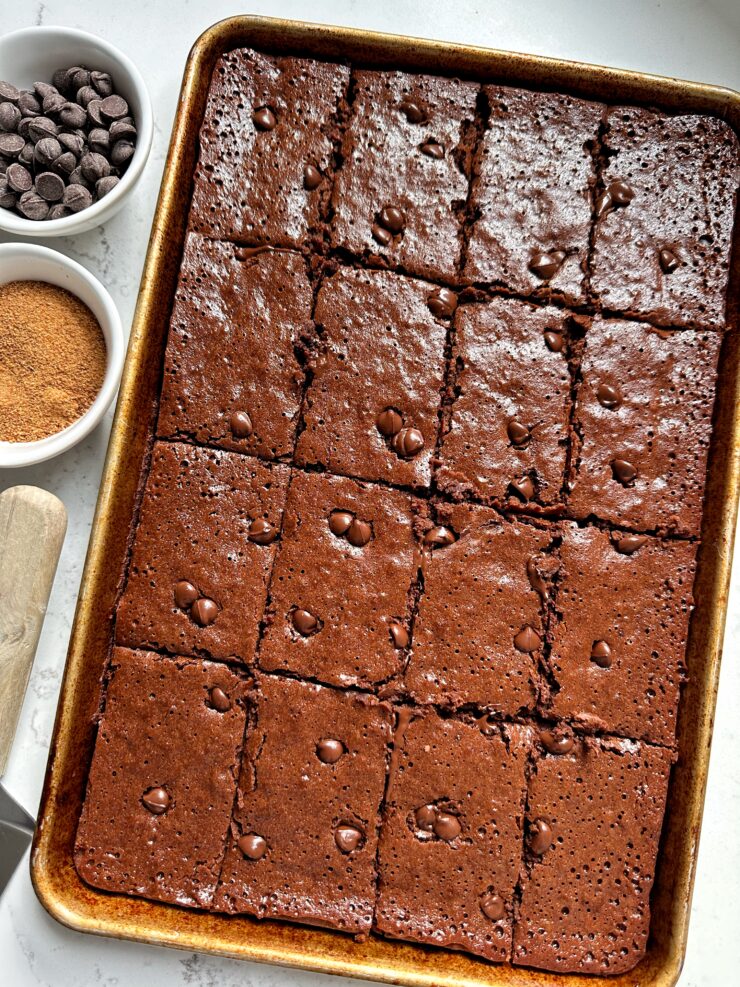
What ingredients you need to make Sheet Pan Brownies:
- Unsalted butter – Butter adds moisture and richness to brownies, creating a soft, melt-in-your-mouth texture.
- Dark chocolate or semi-sweet chocolate – Chocolate is the star ingredient in brownies. It gives brownies their characteristic rich, deep chocolate flavor and fudgy texture. Using either dark or semi-sweet chocolate lets you customize the sweetness level.
- Eggs – Eggs act as a binder, holding the ingredients together and giving structure to the brownies.
- Coconut sugar – Coconut sugar provides sweetness with a slight caramel-like flavor, which adds a depth to the brownies that pairs nicely with chocolate.
- Cane sugar – Cane sugar contributes additional sweetness and helps create a classic crackly top on the brownies.
- Vanilla extract – Vanilla enhances the flavors of chocolate and sugar, adding depth to the brownies without overpowering them.
- Gluten-free flour – Flour adds structure to the brownies and helps them hold together. This gluten-free version ensures those with gluten sensitivities can enjoy the brownies without compromising taste or texture.
- Cacao powder – Cacao powder intensifies the chocolate flavor, adding richness and depth to the brownies.
- Chocolate chips – Chocolate chips add bursts of melted chocolate within the brownies, giving an extra layer of texture and flavor.
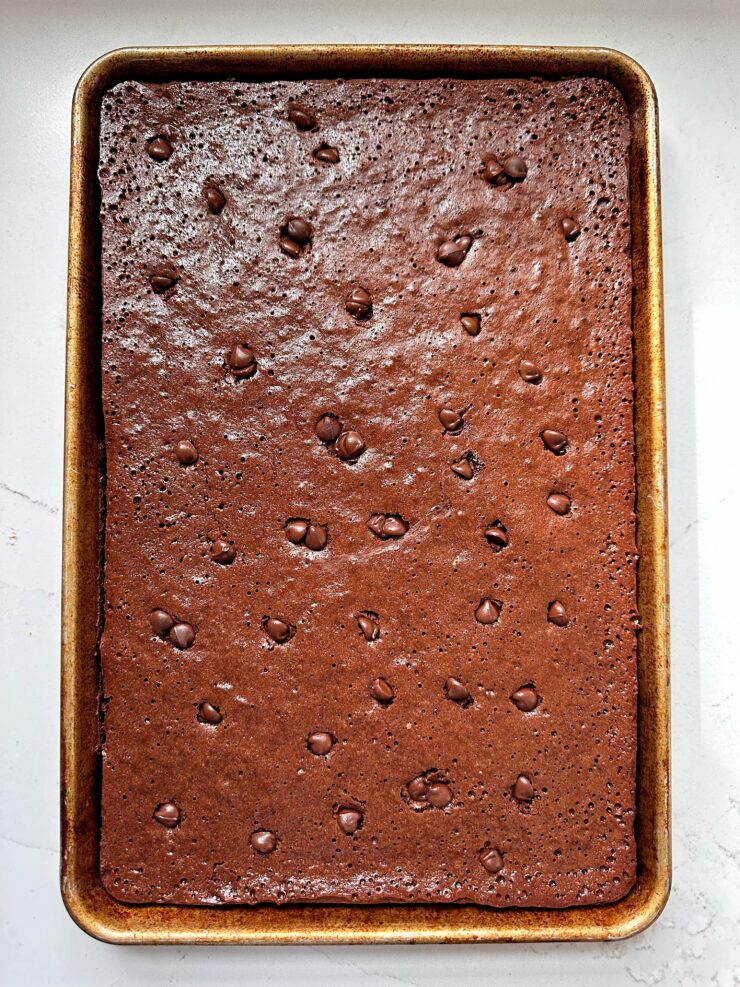
Step-by-Step Instructions:
1. Prepare Your Sheet Pan and Oven
Preheat your oven to 350°F (175°C). Grease a 14 x 10 sheet pan with a light coat of cooking spray or line it with parchment paper. Remember, the size of your sheet pan will determine the thickness of your brownies. A smaller pan will create thicker brownies, while a larger pan will result in thinner pieces.
2. Melt the Chocolate and Butter
Combine the chocolate and butter in a saucepan over low heat, stirring constantly until the mixture is completely melted and smooth. Once ready, set aside to let it cool slightly.
3. Whisk the Wet Ingredients
In a large mixing bowl, add the eggs, coconut sugar, cane sugar, and vanilla extract. Whisk together for about 2-3 minutes. For best results, use a hand mixer or stand mixer on medium speed.
4. Combine the Chocolate and Egg Mixtures
Add the melted chocolate and butter mixture to the egg mixture and gently mix until fully combined. Be careful not to over-mix, as it can lead to denser brownies.
5. Add the Dry Ingredients
Gently fold in the gluten-free flour and cacao powder until smooth. If you’re craving extra chocolatey brownies, feel free to add more chocolate chips at this stage! Pour the brownie batter into your prepared sheet pan, using a spatula to spread it evenly and smooth out the top.
7. Bake
Place the pan in your preheated oven and bake for approximately 20 minutes. Keep an eye on the brownies—insert a toothpick in the center to check doneness. A few moist crumbs on the toothpick indicate they’re ready! Remember, slightly underbaking brownies ensures they’ll remain fudgy, as they continue to firm up slightly as they cool.
8. Cool, Slice, and Enjoy!
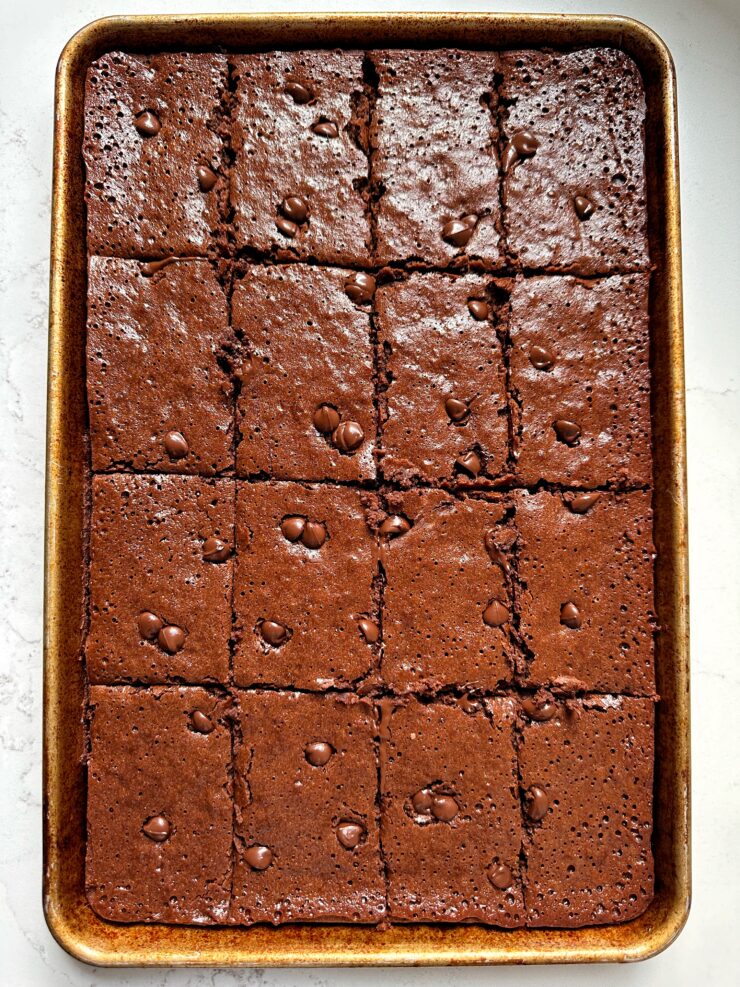
Allow the brownies to cool completely to room temperature before slicing. For clean, precise cuts, use a sharp knife and wipe it between each slice.
Customizing Your Sheet Pan Brownies:
Now that you have your basic recipe down, it’s time to get creative! Here are some simple ways to add your own twist:
- Add a Swirl: Create a marbled effect by adding a swirl of peanut butter, almond butter, or cream cheese before baking.
- Top with Nuts: Add a sprinkle of walnuts, pecans, or almonds on top of the batter before baking for a crunchy contrast.
- Sprinkle with Sea Salt: For an elevated flavor, sprinkle sea salt on the brownies right after baking.
- Infuse with Orange or Peppermint: For a holiday twist, add a splash of orange extract or peppermint extract to the batter. It pairs beautifully with the rich chocolate flavor.
Tips for the Perfect Brownies Every Time:
-
Use Room Temperature Eggs: Room temperature eggs blend better with the batter, creating a smooth texture. If you forget to take them out in advance, place them in warm water for a few minutes.
-
Mix Gently: When combining the melted chocolate with the egg mixture, stir gently to avoid overworking the batter. Overmixing can make brownies tough.
-
Don’t Overbake: Brownies can go from perfect to overbaked quickly. Aim for a slightly underdone center when testing with a toothpick.
-
Let Them Cool: Though it’s tempting to dig in right away, let the brownies cool fully. This resting time helps set their structure for that perfect bite.
Storing Your Brownies:
To keep your sheet pan brownies fresh, store them in an airtight container at room temperature for up to three days. For longer storage, freeze the brownies in an airtight container with parchment paper between layers. They’ll last for up to a month in the freezer, and you can enjoy them whenever a chocolate craving hits!
Why Use Coconut Sugar and Cacao Powder?
This recipe calls for coconut sugar and cacao powder, making it a great alternative for those wanting to reduce refined sugar without sacrificing taste. Coconut sugar is lower on the glycemic index, offering a slightly caramel-like sweetness, while cacao powder brings an intense chocolate flavor packed with antioxidants.
Sheet Pan Brownies: Perfect for Any Occasion:
These sheet pan brownies are versatile enough to suit any occasion—from family gatherings to bake sales or just a midweek treat for yourself. The large sheet pan method ensures you can feed a crowd without the fuss of multiple batches, and they’re easily portable for on-the-go sharing. Best of all, with so many customization options, you can make them your own every time.
So, next time you’re craving a sweet treat, skip the traditional pan and reach for a sheet pan. These brownies are easy, delicious, and perfect for anyone who wants a no-fuss dessert with big flavor. Happy baking!
A few other delicious chocolatey dessert recipes to try:
Copycat Snickers Peanut Brownie Bars (gluten-free)
DELISH Banana Bread Brownies (gluten-free)
The BEST Gluten-free Brownie Recipe
The BEST Chocolate Brownie Pie (gluten-free)
PrintDELISH Sheet Pan Brownies! (gluten-free)
Looking for the best ever brownie recipe? Look no further than these Sheet Pan Brownies! Made with gluten-free ingredients, these are a delicious dense, fudgy and extra chocolatey brownie to make. Perfect for a crowd or any time the craving for brownies strikes.
Ingredients
- 9 tablespoons unsalted butter
- 9 ounces dark chocolate or semi-sweet chocolate
- 4 eggs, room temperature
- 1 cup coconut sugar
- 1/2 cup cane sugar
- 1 teaspoon vanilla extract
- 1 cup gluten-free flour
- 1/3 cup cacao powder
- 1/2 cup chocolate chips
Instructions
- Preheat oven to 350 degrees and spray a 14 x 10 sheet pan well (or use similar sizing – note that the larger the sheet pan, the thinner the brownie so you can also use foil and make a boarder around the sheet pan to make this size
- Combine chocolate and butter in saucepan over low heat and stir constantly until melted and smooth then set aside
- In a large bowl, whisk together eggs, sugars and vanilla for about 2-3 minutes by hand or use a hand mixer or stand mixer
- Add in the melted chocolate and mix to combine
- Stir in the flour and cacao powder until smooth. Add in more chocolate chips if craving extra chocolate then pour batter into sheet pan and smooth out the tops with spatula
- Bake for about 20 minutes or until toothpick inserted comes out with slight amount of crumbs (you’d rather under bake then over bake!)
- Allow the brownies to cool to room temperature the slice and enjoy! For perfect slices, clean the knife between each cut
Notes
*Store in airtight container for 5 days or freezer for 2 months
 Share this recipe
Rebecca Blitz
I am never making brownies any other way.
Rachel Mansfield
yay thanks!