These 3-ingredient Healthy Rice Krispie Treats are a must-make recipe! Made with just 3 simple ingredients, no marshmallows and these are much lower in sugar, dairy-free and a delicious and easy snack to make!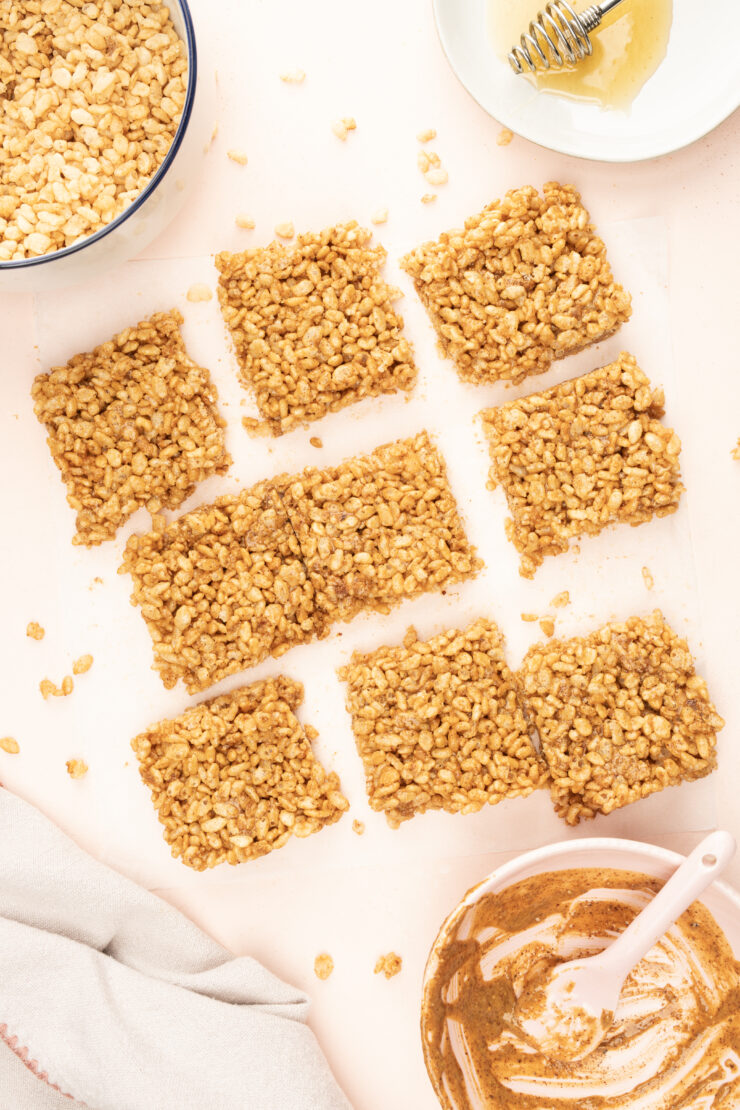
Rice Krispie treats are a nostalgic childhood favorite, but traditional recipes often include processed ingredients like marshmallows and refined sugars. If you’re looking for a healthier version that still delivers on taste and texture, this recipe for healthy Rice Krispie treats is just what you need! Made with brown rice crisp cereal, creamy nut butter, and a natural sweetener, these treats are simple to make and packed with better-for-you ingredients.
Why Choose Healthy Rice Krispie Treats?
Unlike store-bought versions or traditional homemade recipes, these healthy Rice Krispie treats are:
- Refined sugar-free – We use maple syrup or honey instead of processed sugars.
- Packed with protein and healthy fats – Thanks to nut butter, these treats offer more nutritional value.
- Gluten-free and dairy-free – Perfect for those with dietary restrictions.
- Easy to make – With just three simple ingredients, these treats come together in minutes.
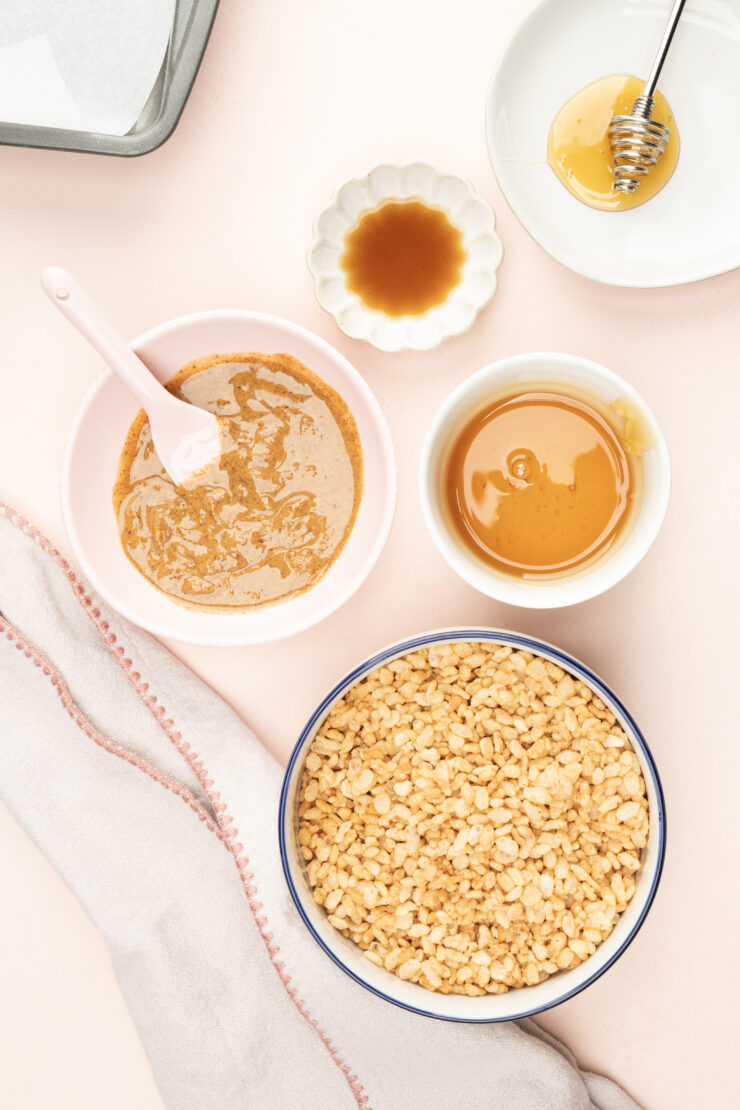
Ingredients you need:
- Brown rice crisp cereal – I love using a no sugar added option but feel free to use your go-to brown rice cereal!
- Creamy nut butter – almond butter or peanut butter are my go-to)
- Maple syrup or honey – this helps bind the treats with the nut butter. Either sweetener here can work.

How to Make Healthy Rice Krispie Treats:
Making these treats is incredibly easy, and you don’t even need an oven! Follow these simple steps:
Step 1: Prepare the Pan
Line an 8×8-inch baking dish with parchment paper, leaving some overhang for easy removal.
Step 2: Mix the Nut Butter and Sweetener
In a large mixing bowl, combine the nut butter and maple syrup (or honey). Stir until the mixture is smooth and well combined.
Step 3: Mix Everything Together
Add the brown rice crisp cereal to the bowl and stir until all the cereal is well coated.
Step 4: Press into the Pan
Transfer the mixture into the prepared baking dish. Use a spatula (or lightly wet your hands) to press the mixture firmly into the pan, ensuring it’s evenly distributed.
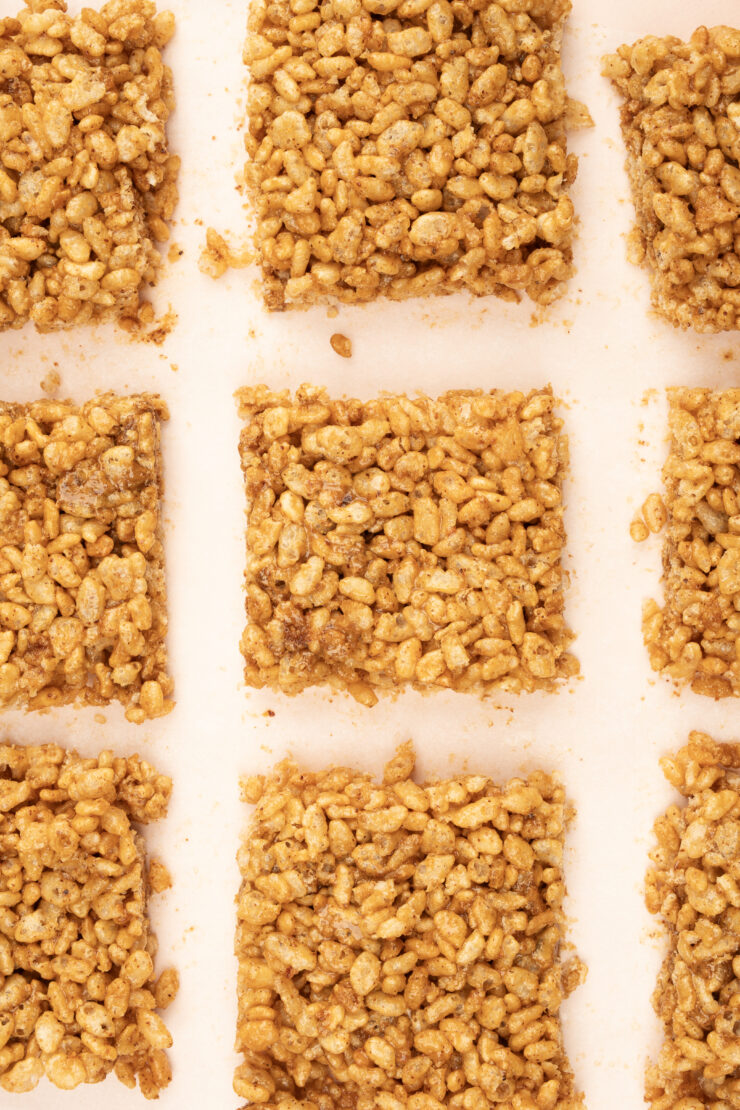
Step 5: Let It Set
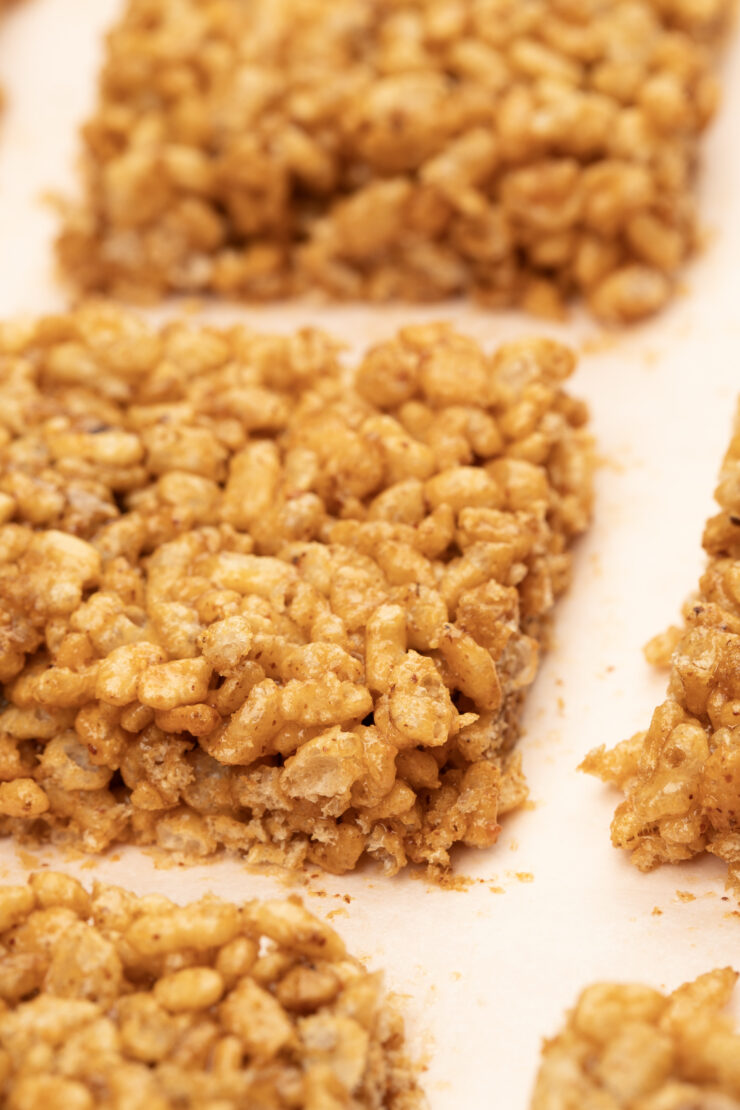
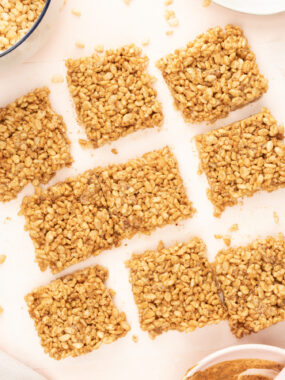
Refrigerate for at least 60 minutes or until firm. Once set, lift the treats out using the parchment paper overhang and slice into squares.
Step 6: Enjoy!
Serve and enjoy your homemade healthy Rice Krispie treats! Store any leftovers in an airtight container at room temperature for up to 5 days, or in the fridge for a longer shelf life.
Customization Ideas
One of the best things about this recipe is how versatile it is! Here are some fun ways to customize your healthy Rice Krispie treats:
- Add a chocolate drizzle – Melt dark chocolate and drizzle it over the bars for an extra indulgent touch.
- Mix in superfoods – Stir in chia seeds, flaxseeds, or hemp seeds for an added nutrient boost.
- Sprinkle in dried fruit – Chopped dried cranberries, raisins, or coconut flakes can add texture and natural sweetness.
- Use different nut butters – Cashew butter or sunflower seed butter are great alternatives.
The Health Benefits of These Rice Krispie Treats
- Brown Rice Crisp Cereal – Brown rice is a whole grain that retains its fiber, vitamins, and minerals, making it a more nutritious choice than refined white rice.
- Nut Butter – Nut butters like almond and peanut butter provide healthy fats, protein, and essential nutrients like vitamin E and magnesium.
- Maple Syrup or Honey – Unlike refined sugar, natural sweeteners contain antioxidants and trace minerals that make them a better option for sweetening treats.
Frequently Asked Questions
- Can I make these treats nut-free?
- Yes! Use sunflower seed butter or tahini instead of nut butter for a nut-free version.
- What if I don’t have brown rice crisp cereal?
- You can substitute with puffed quinoa or another puffed grain, though the texture may vary slightly.
- Can I freeze these treats?
- Absolutely! Store them in an airtight container and freeze for up to 3 months. Let them sit at room temperature for a few minutes before enjoying.
- How can I make them extra crunchy?
- For a crispier texture, toast the brown rice crisp cereal in the oven at 300°F for 5-7 minutes before mixing it with the nut butter and sweetener.
Now let’s make them..
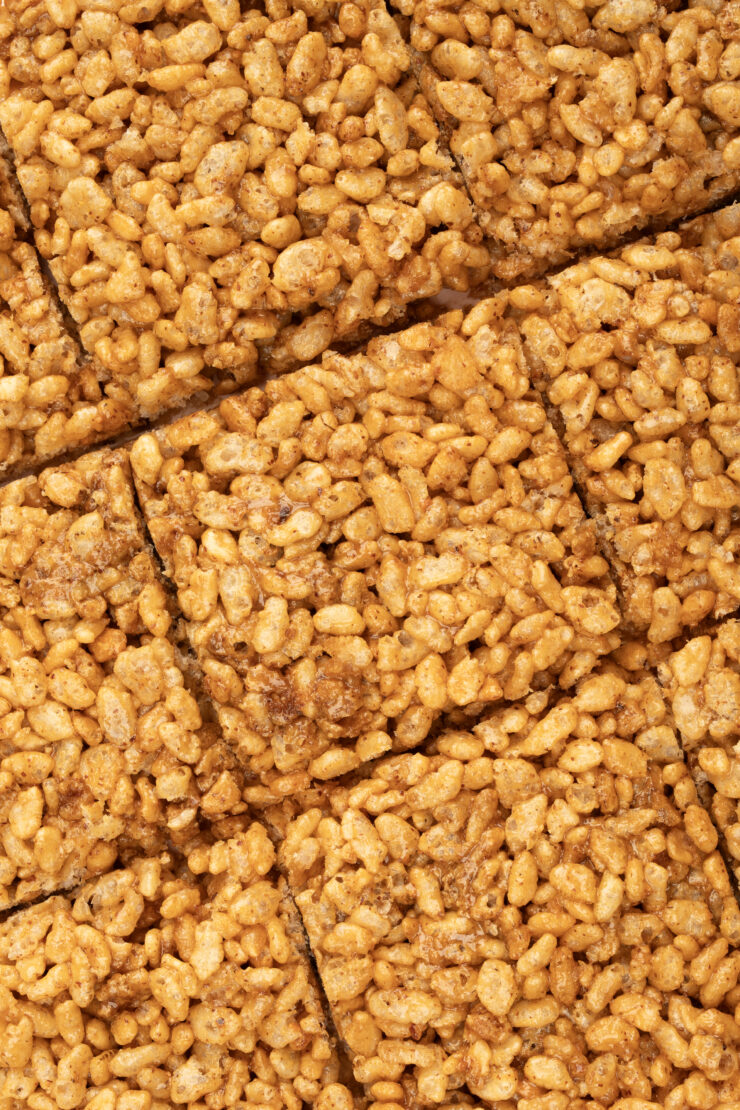
These healthy Rice Krispie treats are the perfect combination of crunchy, chewy, and naturally sweet. They’re easy to make, kid-friendly, and a fantastic alternative to traditional sugar-laden versions. Whether you need a quick snack, lunchbox treat, or post-workout bite, these nutritious bars have got you covered.
Give this recipe a try and let us know how you customize your healthy Rice Krispie treats! Enjoy!
A few other delicious desserty snacks to make:
Healthier Thin Mint Cookies (gluten-free)
EASY 4-ingredient Crunchy Granola Cups
Chocolate Peanut Butter Muddy Buddy Bars
Chocolate Peanut Butter Rice Krispie Balls (gluten-free + vegan)
Print3-ingredient Healthy Rice Krispie Treats
These 3-ingredient Healthy Rice Krispie Treats are a must-make recipe! Made with just 3 ingredients, no marshmallows and these are much lower in sugar, dairy-free and a delicious and easy snack to make!
- Prep Time: 10 mins
- Total Time: 1 hour
Yield: 9 bars 1x
Ingredients
- 2 1/2 cups brown rice crisp cereal
- ½ cup creamy nut butter (almond butter or peanut butter are my go-to)
- ⅓ cup maple syrup or honey
- 1/2 teaspoon vanilla extract
Instructions
- Line an 8×8-inch baking dish with parchment paper, leaving some overhang for easy removal.
- In a large mixing bowl, combine the nut butter and maple syrup (or honey). Stir until the mixture is smooth and well combined.
- Add the brown rice crisp cereal to the bowl and stir until all the cereal is well coated.
- Transfer the mixture into the prepared baking dish. Use a spatula (or lightly wet your hands) to press the mixture firmly into the pan, ensuring it’s evenly distributed.
- Refrigerate for at least 60 minutes or until firm. Once set, lift the treats out using the parchment paper overhang and slice into squares.
- Serve and enjoy your homemade healthy Rice Krispie treats!
Notes
Store any leftovers in an airtight container at room temperature for up to 5 days, or in the fridge for a longer shelf life.
- Category: vegan, gluten-free
- Cuisine: dessert
 Share this recipe
One-Bowl Healthy Vegan Carrot Cake Loaf – rachLmansfield
[…] Degree Organics is a staple in our pantry. I use their cereals (remember these gems?!), flours, tortillas, breads, everything! The oatmeal is literally the best ever. I love that all of […]
One-Bowl Vegan Chocolate Chunk Cookies – rachLmansfield
[…] If you make these cookies, don’t forget to share with me on social. I cannot wait to hear what you think! Here are a few of my other favorite One Degree Organic recipes on the blog for you to make soon too: Heathy Carrot Cake Loaf, Vegan Cinnamon Rolls and Nutty Chocolate Rice Krispie Treats. […]