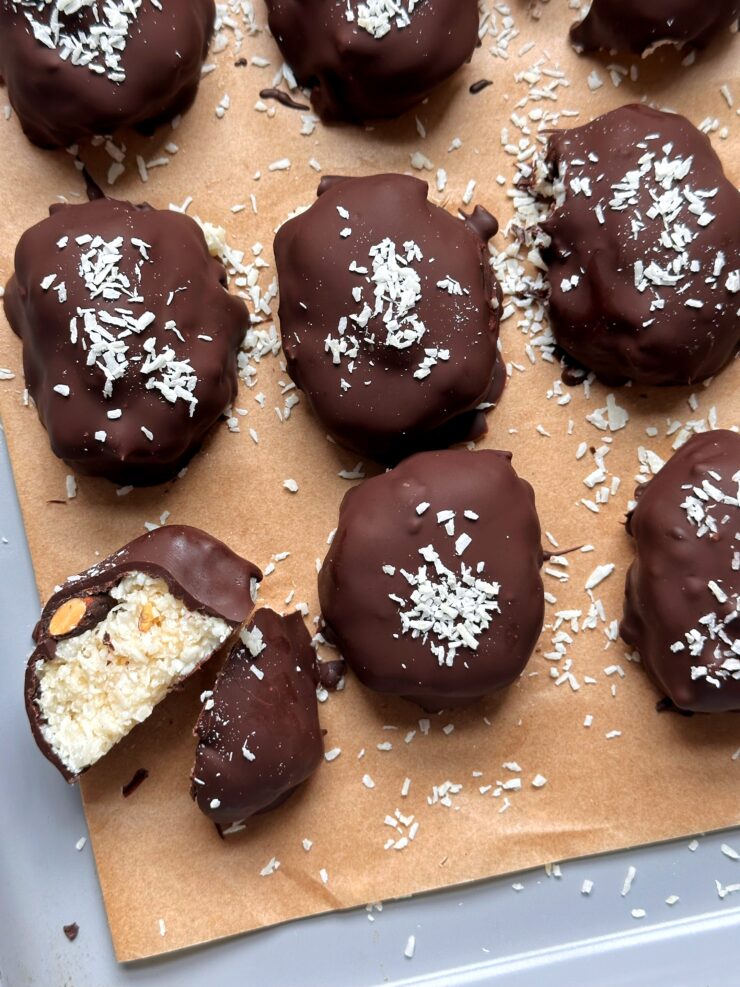
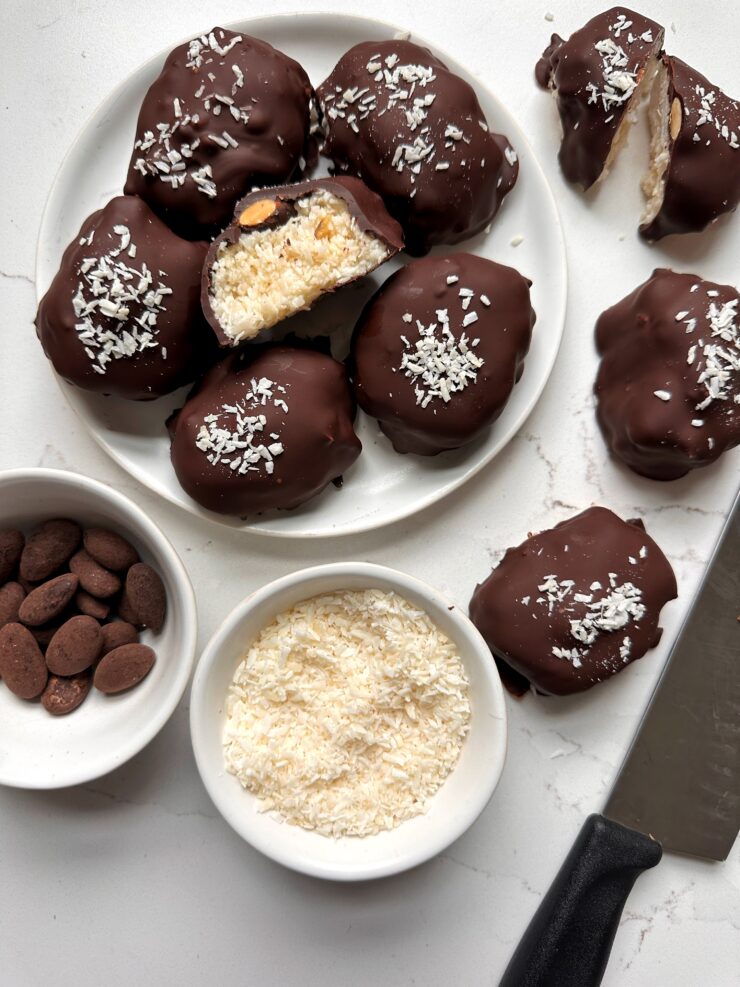
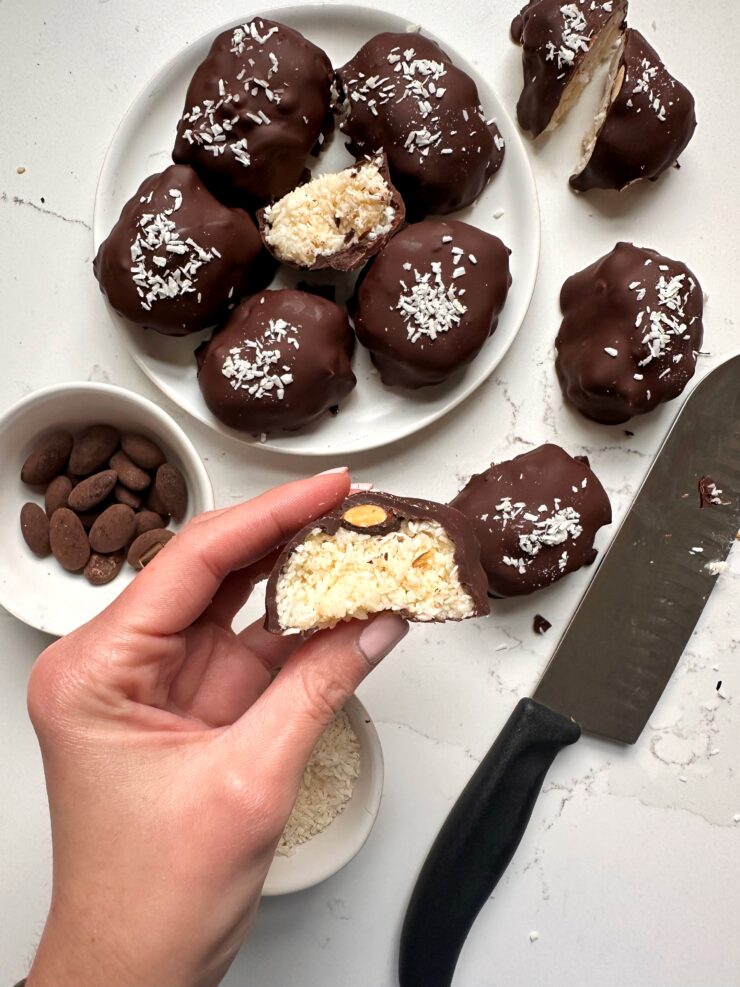
These 5-ingredient Homemade Almond Joy Candy Bars are a must try for all candy lovers. Dark chocolate shell filled with coconut candy bars. This recipe is gluten-free, plant-based and incredibly easy to make.
If you grew up loving Almond Joy bars like I did, then get ready to fall in love all over again—with a twist. This Homemade Almond Joy recipe is everything you love about the original: sweet coconut, a rich layer of dark chocolate, and that signature almond crunch. But here’s the difference: it’s made with real ingredients you can actually feel good about eating. No mystery fillers. No high-fructose corn syrup. Just simple, wholesome, delicious goodness.
Why Make Your Own Almond Joy?
When it comes to nostalgic treats, Almond Joy has always been at the top of my list. But the store-bought versions usually come packed with refined sugars, preservatives, and dairy ingredients that don’t always sit well—especially if you or your family are trying to avoid those things. That’s where this homemade almond joy recipe comes in. It’s a simple, better-for-you take on the candy bar classic, and it’s surprisingly easy to make.
Whether you want a fun weekend treat, a sweet snack to store in the fridge, or a new addition to your holiday dessert tray, this recipe is a total win. Plus, it only takes about 15 minutes to put together before chilling. Minimal effort, major satisfaction.
Ingredients You’ll Need
- Unsweetened shredded coconut – This is the heart of the recipe. It gives you that chewy, slightly sweet texture Almond Joy is famous for. Make sure to use unsweetened coconut so you have full control over the sweetness.
- Condensed milk or condensed coconut milk – This is what binds everything together. You can use traditional condensed milk or go dairy-free with condensed coconut milk. Either one will give you that sticky-sweet texture that keeps the bars moist and rich.
- Manuka honey – A touch of natural sweetness and added health benefits. Manuka honey is loaded with antibacterial properties and antioxidants, but any honey works in a pinch.
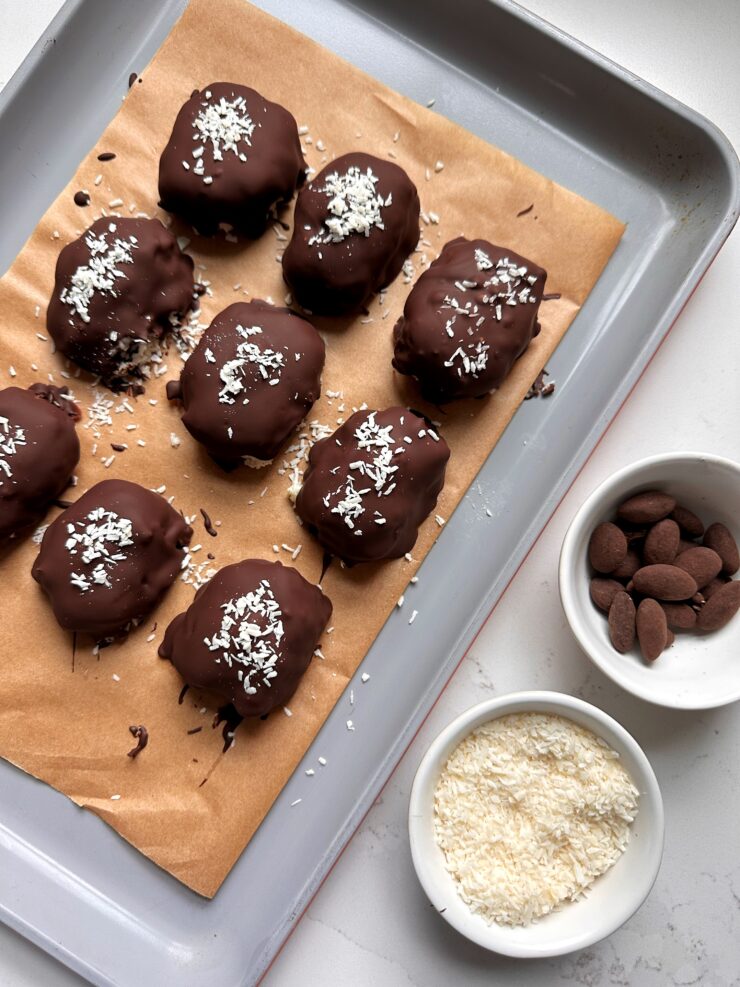
- Almonds – The signature nut! I like to use chocolate-covered almonds for an extra treat, but regular roasted or raw almonds work just as well. You’ll place one almond on each coconut mound.
- Dark chocolate chips – Dark chocolate keeps the sweetness in check and adds that rich, velvety coating. If your chocolate is a little too thick when melting, just add a teaspoon or two of coconut oil to smooth it out.
How to Make Homemade Almond Joy
Making your own homemade almond joy bars might sound fancy, but trust me—it couldn’t be easier. Here’s the step-by-step breakdown:
Step 1: Make the Coconut Base
In a medium bowl, combine the shredded coconut, condensed milk, and manuka honey. Mix everything together until it forms a thick, sticky mixture that holds together when pressed. This will be your coconut filling.
If the mixture seems too wet, you can add an extra tablespoon or two of shredded coconut. If it feels too dry, a small splash of condensed milk or honey will help.
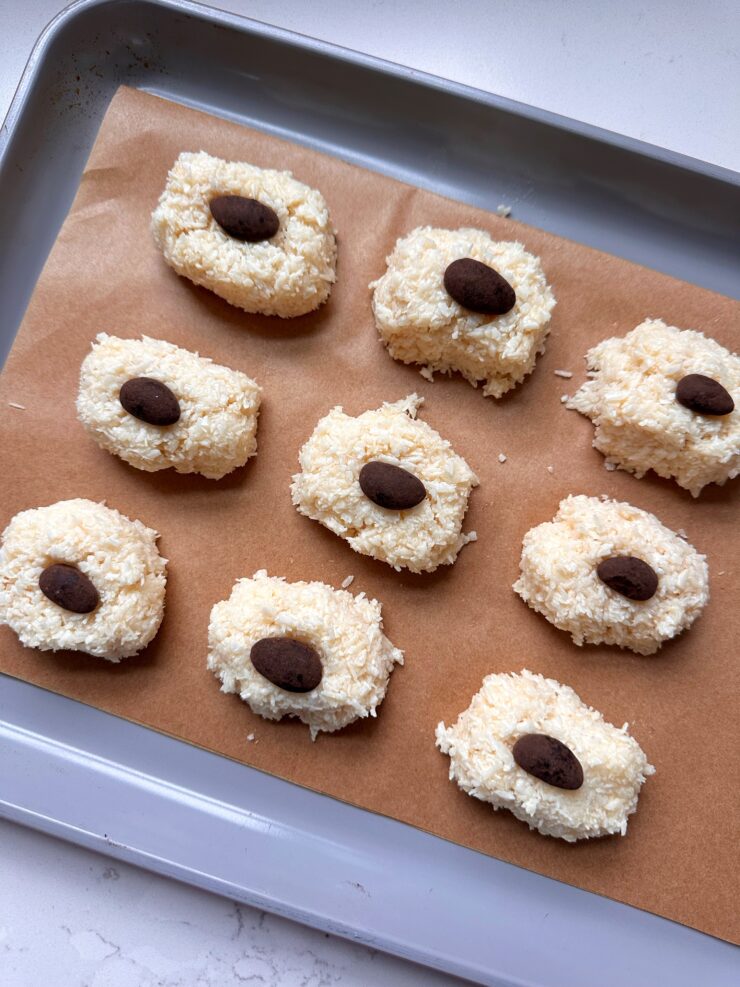
Step 2: Form the Coconut Mounds
Line a baking sheet with parchment paper. Using a spoon or your hands, form small oblong mounds of the coconut mixture—think candy bar shape, about 2 inches long and 1 inch wide. You should get around 9–12 mounds, depending on size.
Once shaped, gently press one almond on top of each mound.
Pop the tray into the freezer for 15–20 minutes. This will firm them up and make them easier to dip in chocolate.
Step 3: Melt the Chocolate
While the coconut mounds are chilling, melt your dark chocolate chips in a microwave-safe bowl in 30-second increments, stirring between each round until smooth. If needed, add a teaspoon of coconut oil to help thin the chocolate and give it a glossy finish.
Step 4: Coat in Chocolate
Remove the coconut mounds from the freezer. Using a fork or dipping tool, carefully dip each mound into the melted chocolate, turning to coat fully. Tap off any excess chocolate and place back onto the parchment-lined tray.
If you’re feeling extra, drizzle a little extra chocolate over the top for that fancy, candy-store look.
Step 5: Chill and Enjoy
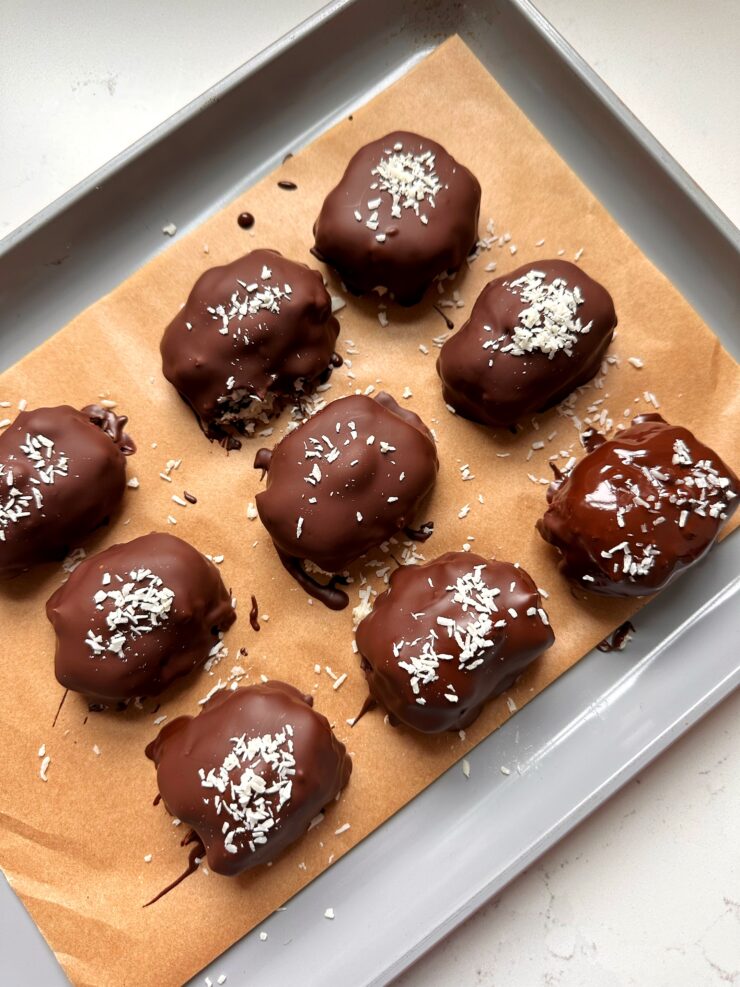
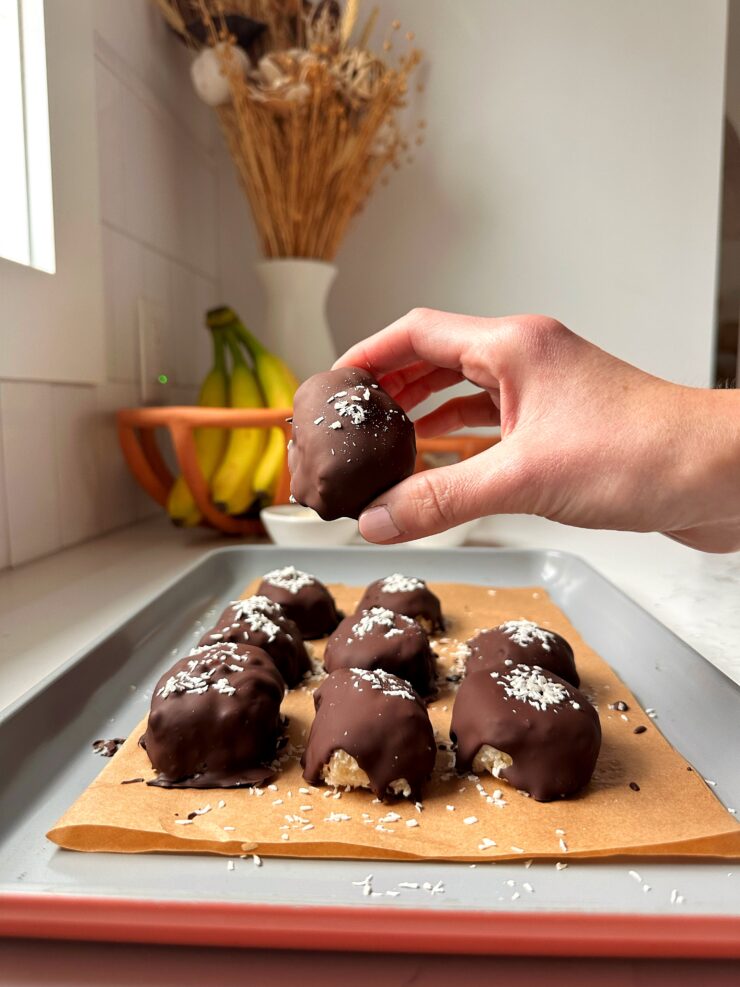
Once all the bars are coated, place the tray back in the fridge or freezer to let the chocolate set completely—about 10–15 minutes.
Then all that’s left to do? Enjoy your homemade almond joy! Store them in an airtight container in the fridge for up to 10 days (though good luck making them last that long).
Customizations & Tips
What I love most about this recipe is how customizable it is. Here are some fun ways to mix it up:
-
Add vanilla extract or almond extract to the coconut mixture for a flavor boost.
-
Top with a sprinkle of sea salt after dipping in chocolate for that sweet-salty contrast.
-
Use mini muffin liners and press the coconut mixture into the bottom, top with an almond, and then pour melted chocolate over each one—like Almond Joy candy cups!
-
Swap the almonds for other nuts like cashews, pecans, or even hazelnuts.
-
Make it vegan by using condensed coconut milk and a dairy-free dark chocolate.
Why Manuka Honey?
If you’ve never tried manuka honey before, it’s worth seeking out. It’s derived from the nectar of the manuka bush, native to New Zealand, and it has some pretty amazing natural properties. It’s antimicrobial, anti-inflammatory, and packed with nutrients. While it’s definitely on the pricier side, you only need a little bit—and the flavor and benefits go a long way.
Of course, you can totally use whatever honey you have on hand, but if you’re looking to elevate your homemade almond joy just a bit more, manuka is a lovely touch.
Making Candy at Home Doesn’t Have to Be Hard
People hear the words “homemade candy” and immediately think it’s complicated or time-consuming. But the truth is, some of the best treats are the simplest. This homemade almond joy recipe comes together in under 30 minutes, and the payoff is huge.
You’re getting all the satisfaction of a nostalgic candy bar, but with better ingredients and way more control over sweetness and flavor.
If you’ve got little hands in the kitchen, this recipe is a great one to make together. Kids love shaping the coconut mounds and pressing the almonds on top. Dipping the bars in chocolate is a little messy—but that’s part of the fun, right?
And because there’s no baking required, it’s safe and easy for kids to help with from start to finish.
In Summary
Whether you’re dairy-free, trying to cut back on processed sugar, or just looking for a more wholesome way to satisfy your sweet tooth, these homemade almond joy bars check every box. They’re chewy, chocolatey, satisfyingly crunchy—and made with real ingredients that taste as good as they feel.
You’ll be surprised at how close they are to the original, but better. Richer. Fresher. More delicious. And once you try them, you may never go back to store-bought again.
A Few Other Candy Recipes to Try
Copycat 4-ingredient Vegan Butterfingers (gluten-free)
The BEST Gluten-free Twix Bars!
4-ingredient Healthy Reese’s Bars (gluten-free)
Copycat Snickers Peanut Brownie Bars (gluten-free)
5-ingredient Homemade Almond Joy Candy Bars
These 5-ingredient Homemade Almond Joy Candy Bars are a must try for all candy lovers. Dark chocolate shell filled with coconut candy bars. This recipe is gluten-free, plant-based and incredibly easy to make.
- Prep Time: 10 mins
- Total Time: 1 hour 30 mins
Yield: 12–16 bars 1x
Ingredients
- 2 cups unsweetened shredded coconut
- 1 cup condensed milk or condensed coconut milk
- 1–2 tablespoons manuka honey
- 9–12 almonds (I used chocolate covered ones but any work)
- 1 cup dark chocolate chips (plus coconut oil as needed)
Instructions
- In a medium bowl, combine the shredded coconut, condensed milk, and manuka honey. Mix everything together until it forms a thick, sticky mixture that holds together when pressed. This will be your coconut filling.
- If the mixture seems too wet, you can add an extra tablespoon or two of shredded coconut. If it feels too dry, a small splash of condensed milk or honey will help.
- Line a baking sheet with parchment paper. Using a spoon or your hands, form small oblong mounds of the coconut mixture—think candy bar shape, about 2 inches long and 1 inch wide. You should get around 9–12 mounds, depending on size.
- Once shaped, gently press one almond on top of each mound.
- Pop the tray into the freezer for 45-60 minutes. This will firm them up and make them easier to dip in chocolate.
- While the coconut mounds are chilling, melt your dark chocolate chips in a microwave-safe bowl in 30-second increments, stirring between each round until smooth. If needed, add a teaspoon of coconut oil to help thin the chocolate and give it a glossy finish.
- Remove the coconut mounds from the freezer. Using a fork or dipping tool, carefully dip each mound into the melted chocolate, turning to coat fully. Tap off any excess chocolate and place back onto the parchment-lined tray.
- If you’re feeling extra, drizzle a little extra chocolate over the top for that fancy, candy-store look.
- Once all the bars are coated, place the tray back in the fridge or freezer to let the chocolate set completely—about 10–15 minutes.
Notes
Store them in an airtight container in the fridge for up to 10 days (though good luck making them last that long).

 Share this recipe
Missy
Im sorry but this is driving me crazy, this recipe is NOT for Almond Joy because it calls for DARK CHOCOLATE, and Almond Joy is made with MILK CHOCOLATE!!! Mounds has the dark chocolate it just doesn’t have the almonds. I MAY try this recipe but I would DEFINITELY use MILK CHOCOLATE INSTEAD if I do!
Rachel
so use milk chocolate lol it’s not a big deal and zero reason to go crazy.
caitlin hall
OBESSSED!!!!!!!!!