DIY Yogurt Pouches: A delicious and nutritious homemade alternative to the store-bought. Save money, cut back on sugar and try this homemade version!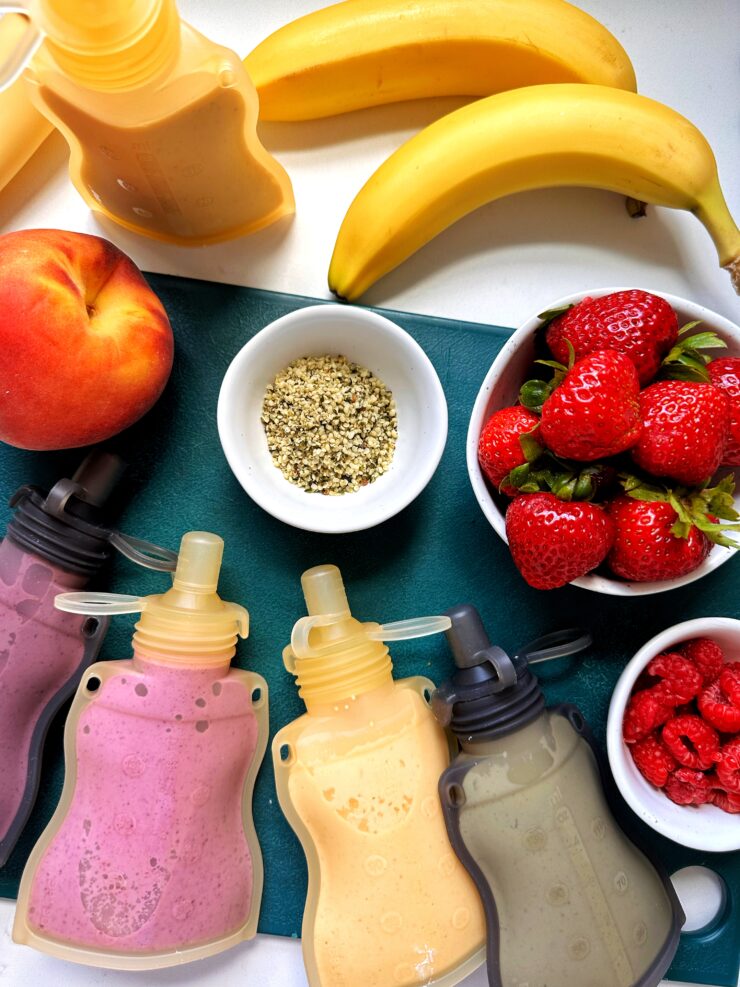
In a world where convenience often takes over quality, it’s easy to reach for pre-packaged snacks. Yogurt pouches, in particular, have become a popular choice for both kids and adults. They’re easy to grab on the go, they’re mess-free, and they come in a variety of flavors. But have you ever considered making your own yogurt pouches at home? Not only is it easier than you might think, but it also allows you to control exactly what goes into your snack, ensuring that it’s as nutritious as possible.
In this blog post, we’ll explore how to make your own yogurt pouches using simple ingredients like Greek yogurt, fresh or frozen fruit, and optional nutrient-packed add-ins like chia seeds, hemp seeds, and flaxseeds. Whether you’re looking to save money, reduce waste, or provide your family with a healthier snack option, homemade yogurt pouches are a fantastic choice.
Why make your own yogurt pouches?
1. Control Over Ingredients: When you make your own yogurt pouches, you have complete control over what goes into them. Many store-bought options are loaded with added sugars, artificial flavors, and preservatives. By making your own, you can choose high-quality ingredients, adjust the sweetness to your liking, and skip any unnecessary additives.
2. Cost-Effective: Store-bought yogurt pouches can be expensive, especially if you’re buying them regularly. By making your own, you can save money in the long run. Buying yogurt and fruit in bulk is often more cost-effective than purchasing individual pouches.
3. Customizable: One of the best things about making your own yogurt pouches is the ability to customize them to your taste. Whether you prefer a tangy Greek yogurt, a sweeter fruit puree, or a nutrient boost with seeds, the possibilities are endless.
4. Eco-Friendly: Pre-packaged yogurt pouches contribute to plastic waste, as most are not recyclable. By using reusable pouches, you can reduce your environmental footprint and contribute to a more sustainable lifestyle.
What you need to make homemade yogurt pouches:
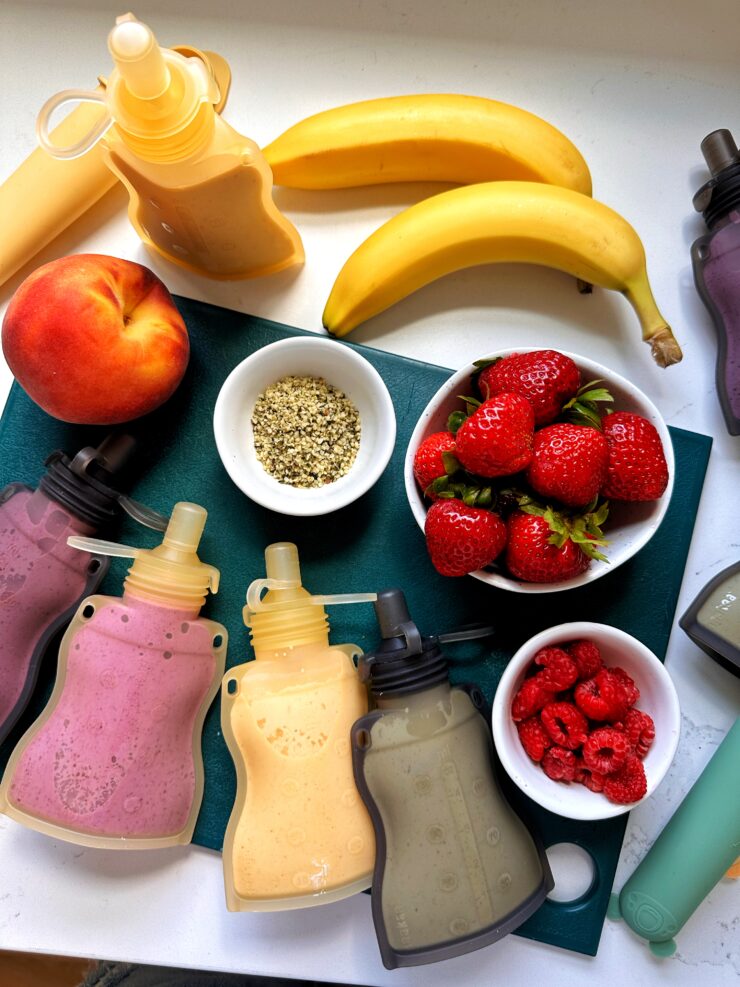
To make your own yogurt pouches, you’ll need just a few simple ingredients and tools:
- Yogurt: The base of your pouch can be any yogurt you prefer. Greek yogurt is a great option because it’s thick, creamy, and high in protein. However, you can use any yogurt that suits your dietary needs and taste preferences, such as plain, vanilla, or dairy-free alternatives.
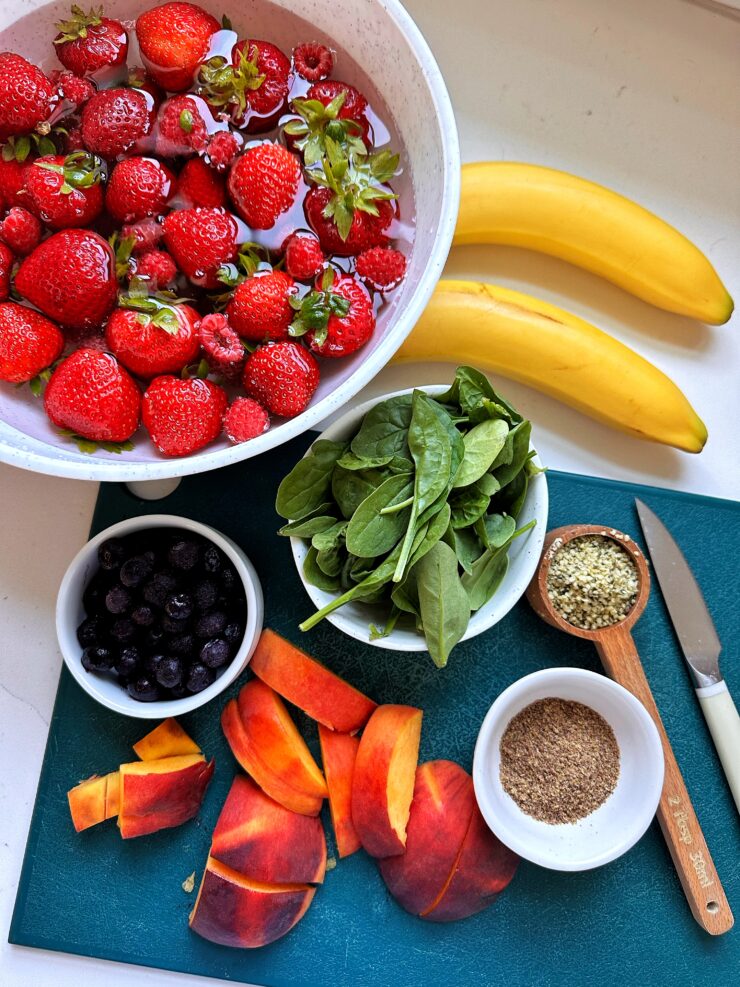
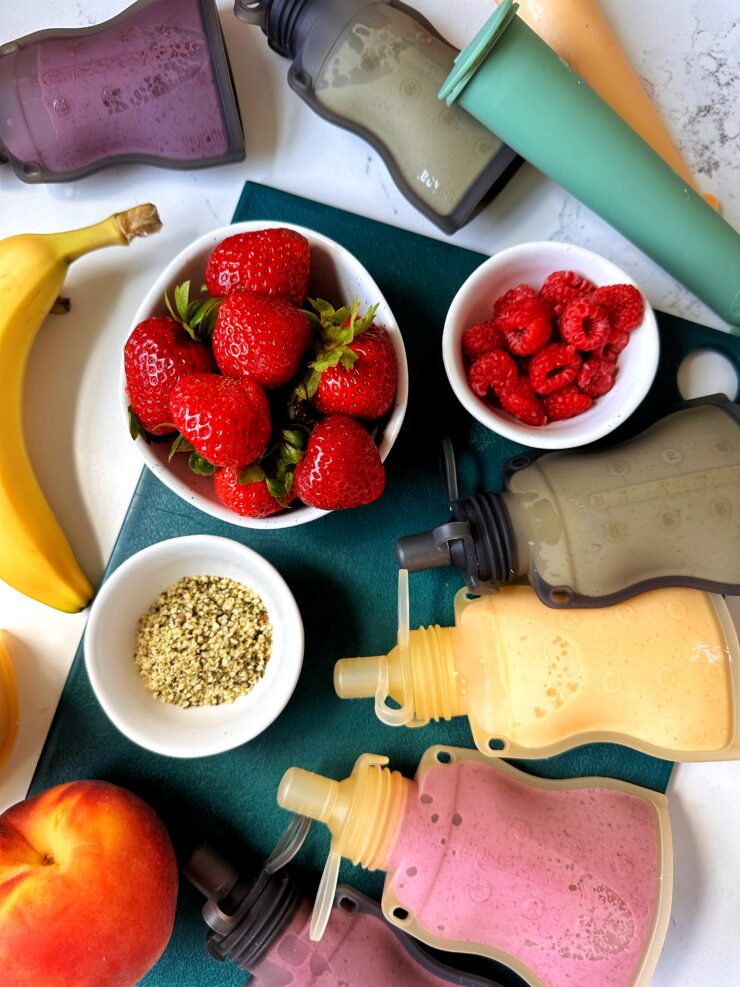
- Fruit: Fresh or frozen fruit adds natural sweetness and flavor to your yogurt pouches. Berries, mango, peaches, and bananas are all great choices. You can use a single type of fruit or mix different kinds to create your own unique flavor combinations.
- Optional Add-Ins: To boost the nutritional content of your yogurt pouches, consider adding in some superfoods like chia seeds, hemp seeds, or flaxseeds. These seeds are rich in omega-3 fatty acids, fiber, and protein, making your yogurt pouches even more nutritious.
- Blender or Food Processor: A blender or food processor will help you create a smooth and creamy fruit puree to mix with your yogurt.
- Reusable Pouches: To store your homemade yogurt, you’ll need reusable pouches. These can be found online or at many kitchen stores and are a great eco-friendly alternative to single-use plastic pouches.
How to make your own yogurt pouches:
Making your own yogurt pouches is a simple process that can be done in just a few steps:
- Prepare the Fruit: Start by washing and chopping your fresh fruit. If you’re using a blender or food processor, blend the fruit until it’s smooth. You can also leave it a little chunky if you prefer some texture in your yogurt pouches.
- Mix in the Yogurt: Add yogurt to the blender and blend until smooth. The ratio of yogurt to fruit is entirely up to you, depending on how fruity or tangy you want your yogurt pouches to be. For a thicker consistency, use more yogurt; for a fruitier flavor, add more puree.
- Add Nutrients: If you’re adding chia seeds, hemp seeds, or flaxseeds, add in with the yogurt. These seeds will not only add a nutritional boost but also give your yogurt pouches a nice texture. Stir well to ensure they are evenly distributed throughout the yogurt mixture.
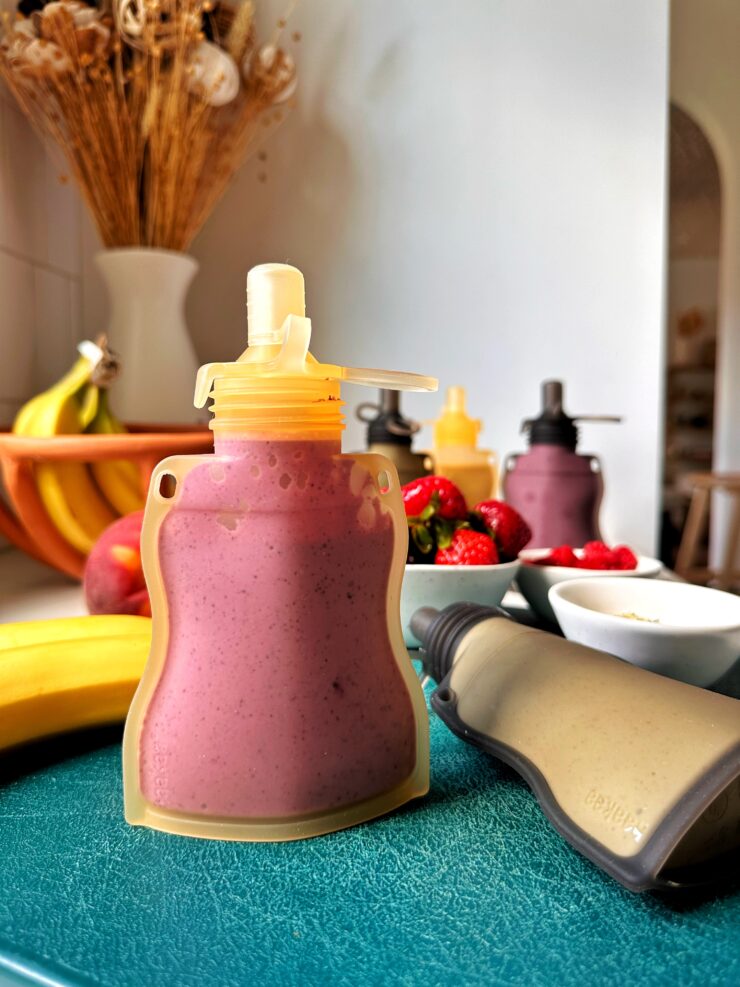
- Fill the Pouches: Carefully fill your reusable pouches with the yogurt mixture. Make sure to leave a little room at the top to allow for expansion if you plan on freezing the pouches.
- Store: Once your pouches are filled, they can be stored in the refrigerator for up to a week or in the freezer for longer-term storage. If you freeze them, just remember to take a pouch out the night before so it can thaw by the time you’re ready to eat it.
Tips for Success making your own pouches:
-
Sweeten Naturally: If you find that your yogurt mixture isn’t sweet enough, try adding a natural sweetener like honey or maple syrup Taste as you go to ensure you don’t over-sweeten.
-
Experiment with Flavors: Don’t be afraid to get creative with your flavor combinations. We love peaches and cream (peaches and yogurt), berry banana and I add some spinach in too sometimes for extra boost.
-
Pack for On-the-Go: These yogurt pouches are perfect for school lunches, picnics, or a quick snack at work. If you freeze them, they can double as an ice pack to keep other foods cool in a lunchbox.
Conclusion:
Making your own yogurt pouches is an easy, cost-effective, and customizable way to provide yourself and your family with a healthy snack. With just a few ingredients and some simple steps, you can create delicious yogurt pouches that are free from artificial additives and tailored to your taste preferences. Plus, by using reusable pouches, you’re taking a step toward a more sustainable lifestyle. Give it a try and enjoy the satisfaction of knowing exactly what’s in your snack!
A few other healthy recipes to make for yogurt lovers:
Healthy Frozen Yogurt Banana Pops (gluten-free)
Raspberry Chocolate Yogurt Clusters
Blueberry Yogurt Bread (gluten-free)
PrintMake Your Own Yogurt Pouches (so easy!)
DIY Yogurt Pouches: A delicious and nutritious homemade alternative to the store-bought. Save money, cut back on sugar and try this homemade version!
- Prep Time: 10 mins
- Total Time: 10 mins
Yield: Makes about 4–5 pouches 1x
Ingredients
- 2 cups frozen or fresh fruit (I also sneak in veggies sometimes too like baby spinach)
- 2 cups yogurt of choice
- Optional add-in’s: hemp seeds, chia seeds, or if you want sweeter add maple syrup or honey!
Instructions
- Prepare the Fruit: Start by washing and chopping your fresh fruit. Blend the fruit until it’s smooth. You can also leave it a little chunky if you prefer some texture in your yogurt pouches.
- Mix in the Yogurt: Add yogurt to the blender and blend until smooth (if using add-in’s add in now too!). The ratio of yogurt to fruit is entirely up to you, depending on how fruity or tangy you want your yogurt pouches to be. For a thicker consistency, use more yogurt; for a fruitier flavor, add more puree.
- Fill the Pouches: Carefully fill your reusable pouches with the yogurt mixture. Make sure to leave a little room at the top to allow for expansion if you plan on freezing the pouches.
- Store: Once your pouches are filled, they can be stored in the refrigerator for up to a week or in the freezer for longer-term storage. If you freeze them, just remember to take a pouch out the night before so it can thaw by the time you’re ready to eat it.

 Share this recipe
Rebecca Blitz
My kids LOVE these. Thanks for the inspo!