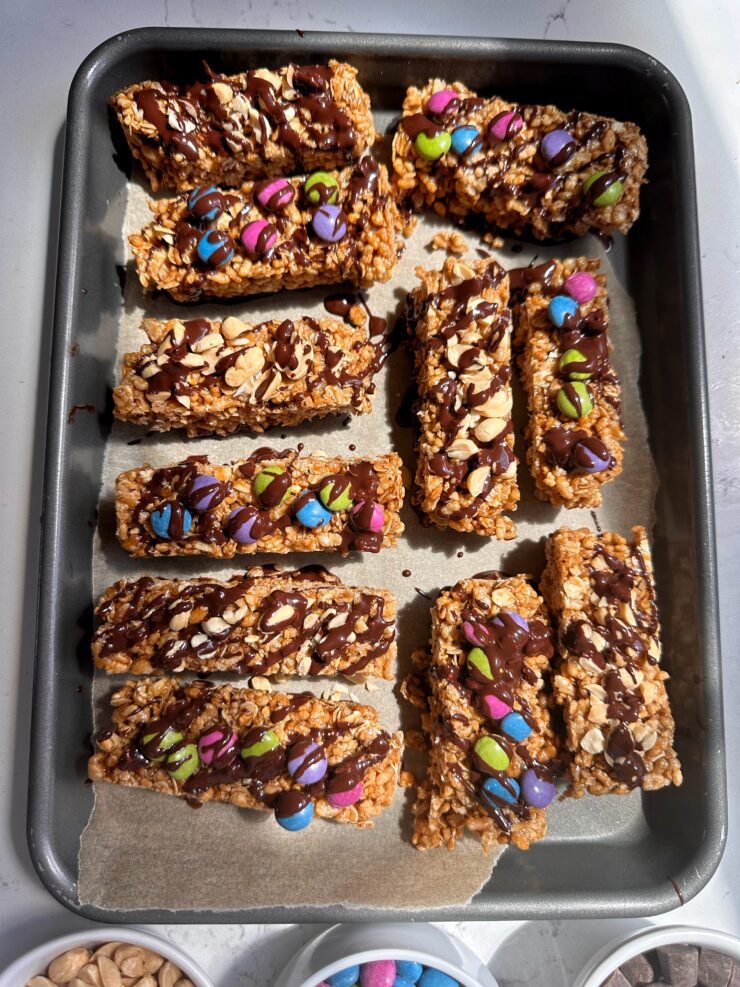
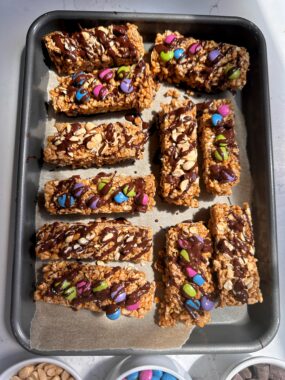
DIY Kudos Bars: A nostalgic treat with a homemade twist using all gluten-free ingredients and with a fraction of the sugar from the ones in the store.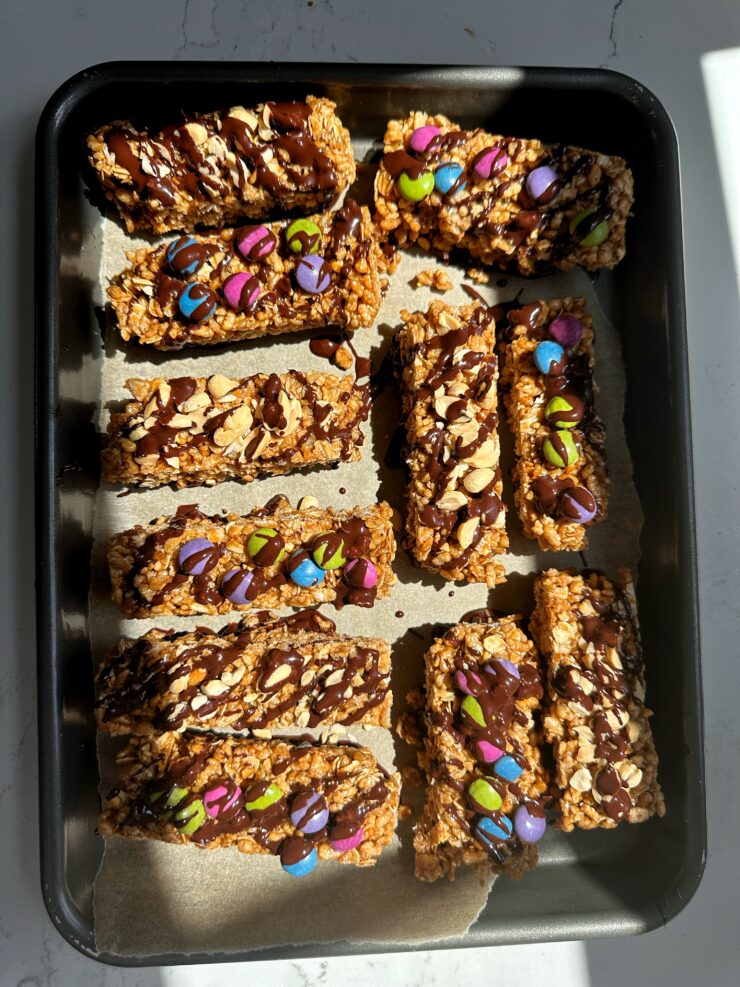
Kudos bars were a beloved snack from the ’90s that many of us still remember fondly. These delightful granola bars, often topped with chocolate and nuts, were a sweet treat that balanced just the right amount of crunch and sweetness. While Kudos bars may no longer be found on store shelves, you can recreate these nostalgic snacks at home with a few simple ingredients. Making your own Kudos bars allows you to control the ingredients, ensuring a healthier option that still satisfies your sweet tooth. Here’s how you can whip up a batch of homemade Kudos bars that will take you straight back to your childhood.
Making your own Kudos bars is not only a fun and nostalgic project, but it also gives you control over what goes into your snacks. With this recipe, you can recreate the classic taste of Kudos bars with healthier ingredients, making them a guilt-free treat that everyone can enjoy. Whether you’re packing them in lunchboxes or enjoying them as an afternoon pick-me-up, these homemade Kudos bars are sure to become a household favorite.
Why Make Your Own Kudos Bars?
The original Kudos bars were a delicious blend of granola, chocolate, and sometimes nuts or candy. However, as with many packaged snacks, they often contained additives and preservatives that we might prefer to avoid today. By making your own Kudos bars, you can enjoy the same great taste but with cleaner ingredients. Plus, you can customize them to your liking—whether you want to add more nuts, switch up the type of chocolate, or even make them gluten-free by choosing the right oats.
Ingredients you need to make these:
For this recipe, we’ve chosen a combination of ingredients that mimic the original Kudos bars but with a healthier twist:
- Brown rice crisp cereal: This gives the bars a light, airy crunch.
- Gluten-free rolled oats: Adds heartiness and texture, making the bars more filling.
- Coconut sugar: A natural sweetener that has a lower glycemic index than regular sugar.
- Salted butter: Provides richness and helps bind the ingredients together.
- Maple syrup: Another natural sweetener that pairs well with the oats and cereal.
- Vanilla extract: Adds depth of flavor and a hint of warmth.
- Peanuts, chopped: For a bit of crunch and a salty contrast to the sweet ingredients.
- Dandied chocolate: Adds a bit of indulgence and nostalgia to the bars.
- Dark chocolate chips, melted: Used to coat the bars and give them that classic Kudos look.
Step-by-Step Instructions on how to make Kudos Bars:
-
Combine the Dry Ingredients: In a large mixing bowl, combine the brown rice crisp cereal and rolled oats. These will form the base of your Kudos bars, providing the crunch and texture that make these bars so satisfying.
-
Prepare the Sweet Syrup: In a medium-sized pot, combine the coconut sugar, salted butter, maple syrup, and vanilla extract. Place the pot over medium heat and bring the mixture to a rapid bubble. Let it bubble for about 3-5 minutes, which will allow the sugar to dissolve completely and the syrup to thicken slightly. This syrup will help bind the cereal and oats together, giving the bars their structure.
-
Mix It All Together: Remove the pot from the heat and pour the syrup over the cereal and oat mixture. Use a silicone spatula to mix everything together, ensuring that the dry ingredients are evenly coated with the syrup. This step is crucial for ensuring that your bars hold together properly.
-
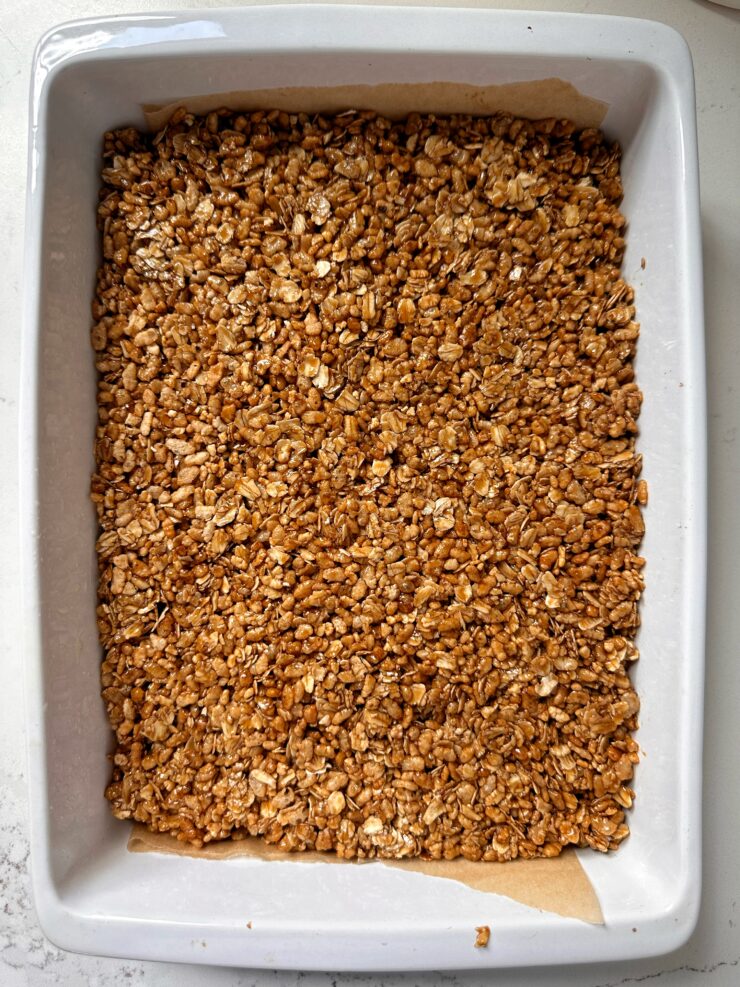
Shape the Bars: Prepare a 9″ x 13″ pan by lightly greasing it and lining it with parchment paper. Pour the cereal mixture into the pan, spreading it out evenly. Use the back of a measuring cup to press the mixture firmly into the pan, ensuring that it’s tightly packed. This will help the bars hold their shape once they’ve cooled.
-
Chill the Bars: Place the pan in the fridge and let the mixture chill for at least 2 hours. This allows the bars to firm up, making them easier to cut.
-
Cut and Dip in Chocolate: Once the bars have chilled, remove them from the pan and cut them into even-sized bars—aiming for about 16 bars. Melt the dark chocolate chips in 30-second intervals in the microwave, stirring between each interval until the chocolate is smooth and fully melted. Dip the bottom of each bar into the melted chocolate, letting any excess drip off. Place the bars back onto parchment paper to set.
-
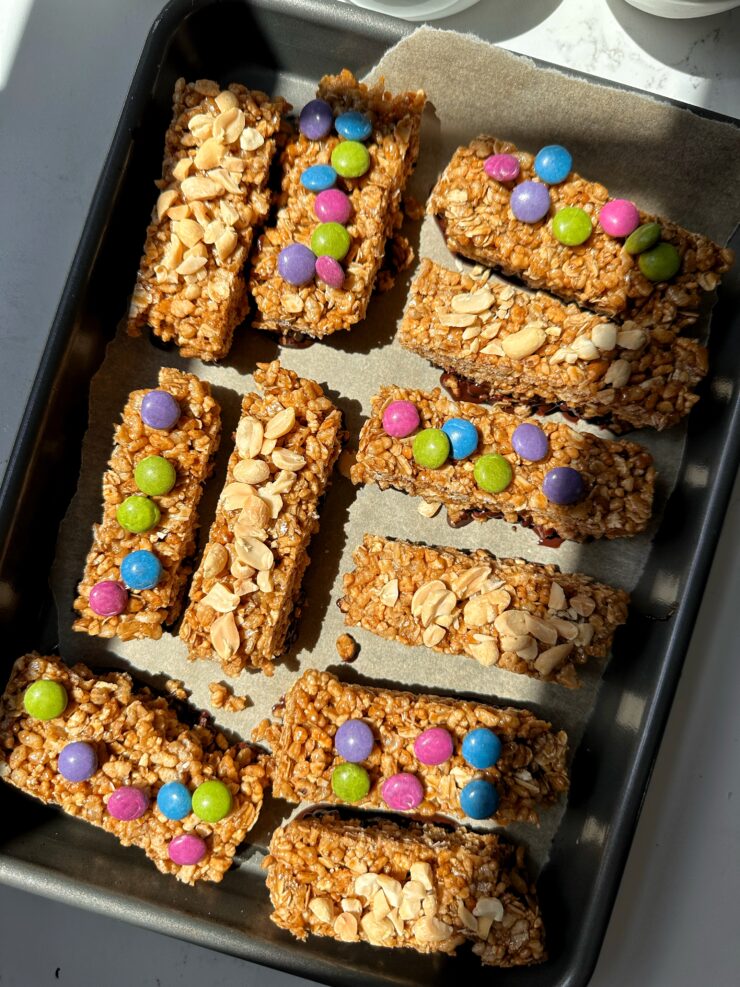
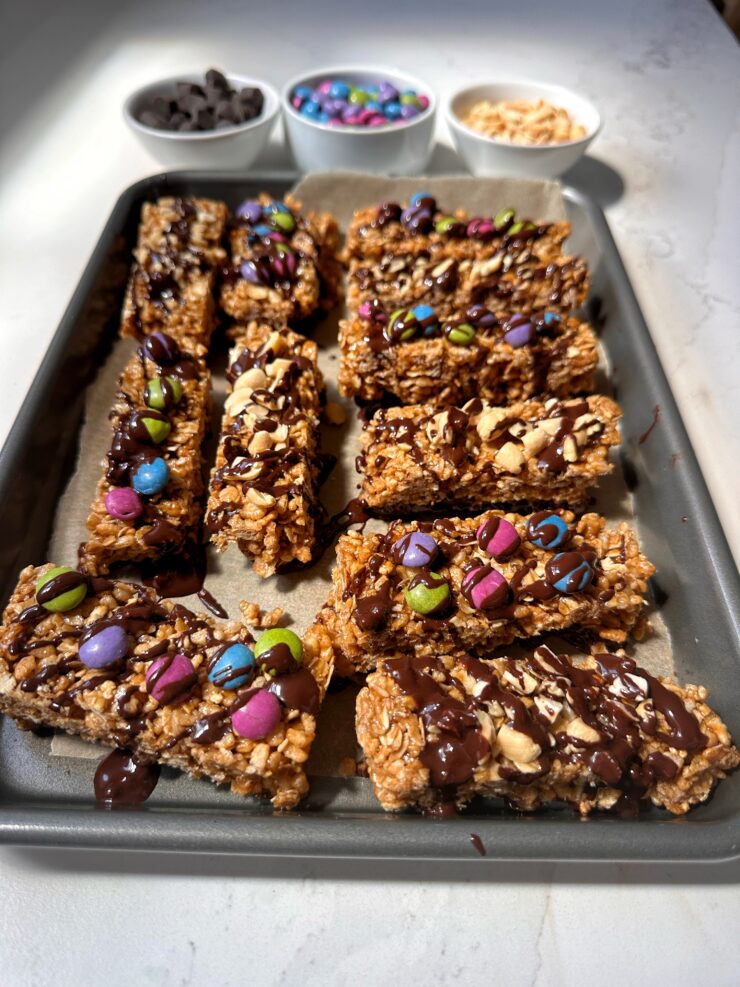
Add the Finishing Touches: Sprinkle chopped peanuts and candied chocolate pieces on top of some of the bars for extra texture and flavor. You can also drizzle more melted chocolate over the top of each bar using a piping bag for that classic Kudos look. Place the bars back in the fridge to allow the chocolate to fully set.
-
Enjoy Your Homemade Kudos Bars: Once the chocolate has set, your homemade Kudos bars are ready to enjoy! Store them in an airtight container in the fridge for up to a week. These bars make a perfect snack for both kids and adults, offering a satisfying mix of sweetness, crunch, and nostalgia.
Tips for Making the Perfect Homemade Kudos Bars:
-
Press Firmly: When shaping the bars in the pan, make sure to press the mixture down firmly. This will help the bars hold together well, preventing them from crumbling when you cut them.
-
Experiment with Add-Ins: Feel free to customize the recipe by adding your favorite nuts, seeds, or dried fruits. Chopped almonds, sunflower seeds, or dried cranberries could be great additions.
-
Keep an Eye on the Syrup: When heating the coconut sugar, butter, maple syrup, and vanilla extract, be careful not to overcook it. Letting it bubble for 3-5 minutes should be enough. Overcooking can result in a syrup that’s too thick, making it difficult to mix with the dry ingredients.
-
Cutting the Bars: For cleaner cuts, use a sharp knife and clean the blade between cuts. This will help prevent the bars from sticking to the knife.
FAQs About Making Homemade Kudos Bars:
Q: Can I use a different type of cereal?
A: Absolutely! While brown rice crisp cereal gives the bars a light, airy texture, you can experiment with other types of cereal like puffed quinoa or even a gluten-free cereal if you have dietary restrictions.
Q: Can I make these bars vegan?
A: Yes, you can make these bars vegan by substituting the butter with a plant-based alternative, like coconut oil or vegan butter. Ensure that the chocolate you use is dairy-free as well.
Q: What can I use instead of coconut sugar?
A: If you don’t have coconut sugar on hand, you can substitute it with brown sugar, which will give a similar caramel-like flavor. Just be aware that the glycemic index will be higher with brown sugar.
Q: My bars turned out too soft. What went wrong?
A: If your bars are too soft, it could be that the syrup mixture wasn’t cooked long enough, or that the bars didn’t chill long enough before cutting. Make sure the syrup reaches a rapid bubble and let the bars set in the fridge for the full 2 hours.
Q: Can I freeze the bars?
A: Yes, you can freeze the bars for longer storage. Wrap each bar individually in plastic wrap and store them in an airtight container or freezer bag. They should last up to 2 months in the freezer. When you’re ready to eat them, let the bars thaw in the refrigerator or at room temperature.
Q: Can I use honey instead of maple syrup?
A: Yes, honey can be used as a substitute for maple syrup. It will add a different flavor profile, and the bars may be slightly sweeter, but it works well as an alternative.
A few other better than store-bought recipes to try:
Chocolate Thumbprint Cookies (gluten-free)
Healthy Tagalong Girl Scout Cookies
The BEST Gluten-free Twix Bars!
No-Bake Chocolate Peanut Butter Snack Bars (vegan + gluten-free)
PrintHomemade Kudos Bars (gluten-free)
DIY Kudos Bars: A nostalgic treat with a homemade twist using all gluten-free ingredients and with a fraction of the sugar from the ones in the store.
- Prep Time: 10 mins
- Total Time: 3 hours
Yield: 16 bars 1x
Ingredients
- 4 cups brown rice crisp cereal
- 2 cups gluten-free rolled oats
- 3⁄4 cup coconut sugar
- 8 tablespoons salted butter
- 1⁄2 cup maple syrup
- 1 teaspoon vanilla extract
- 1⁄4 cup peanuts, chopped
- 1⁄4 cup candied chocolate
- 1 1⁄2 cups dark chocolate chips, melted
Instructions
- Combine the Dry Ingredients: In a large mixing bowl, combine the brown rice crisp cereal and rolled oats. These will form the base of your Kudos bars, providing the crunch and texture that make these bars so satisfying.
- Prepare the Sweet Syrup: In a medium-sized pot, combine the coconut sugar, salted butter, maple syrup, and vanilla extract. Place the pot over medium heat and bring the mixture to a rapid bubble. Let it bubble for about 3-5 minutes, which will allow the sugar to dissolve completely and the syrup to thicken slightly. This syrup will help bind the cereal and oats together, giving the bars their structure.
- Mix It All Together: Remove the pot from the heat and pour the syrup over the cereal and oat mixture. Use a silicone spatula to mix everything together, ensuring that the dry ingredients are evenly coated with the syrup. This step is crucial for ensuring that your bars hold together properly.
- Shape the Bars: Prepare a 9″ x 13″ pan by lightly greasing it and lining it with parchment paper. Pour the cereal mixture into the pan, spreading it out evenly. Use the back of a measuring cup to press the mixture firmly into the pan, ensuring that it’s tightly packed. This will help the bars hold their shape once they’ve cooled.
- Chill the Bars: Place the pan in the fridge and let the mixture chill for at least 2 hours. This allows the bars to firm up, making them easier to cut.
- Cut and Dip in Chocolate: Once the bars have chilled, remove them from the pan and cut them into even-sized bars—aiming for about 16 bars. Melt the dark chocolate chips in 30-second intervals in the microwave, stirring between each interval until the chocolate is smooth and fully melted. Dip the bottom of each bar into the melted chocolate, letting any excess drip off. Place the bars back onto parchment paper to set.
- Add the Finishing Touches: Sprinkle chopped peanuts and candied chocolate pieces on top of some of the bars for extra texture and flavor. You can also drizzle more melted chocolate over the top of each bar using a piping bag for that classic Kudos look. Place the bars back in the fridge to allow the chocolate to fully set.
- Enjoy Your Homemade Kudos Bars: Once the chocolate has set, your homemade Kudos bars are ready to enjoy!
Notes
Store them in an airtight container in the fridge for up to a week.
 Share this recipe