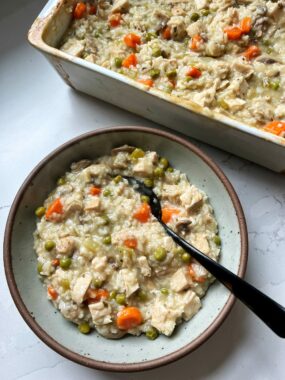
This Chicken Pot Pie Casserole is made with all gluten-free and dairy-free ingredients for a delicious family dinner that is great for meal prep too.
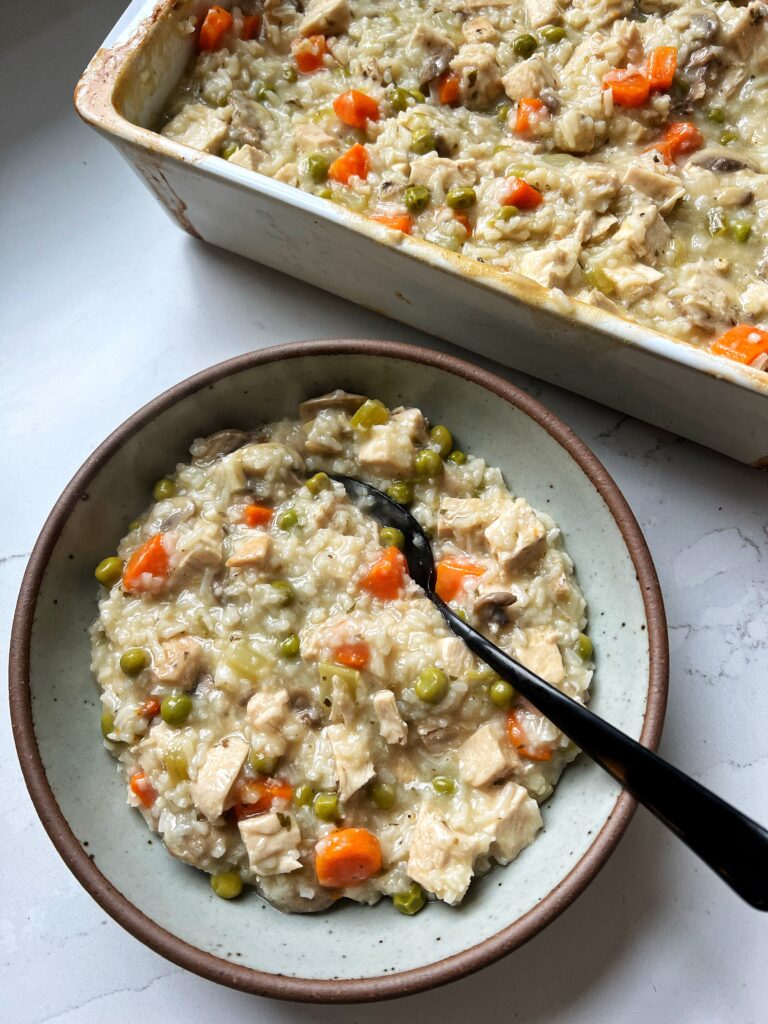
I am always looking for meals to feed my entire family. A one dish meal that can feed 4+ mouths, speaks to my soul.
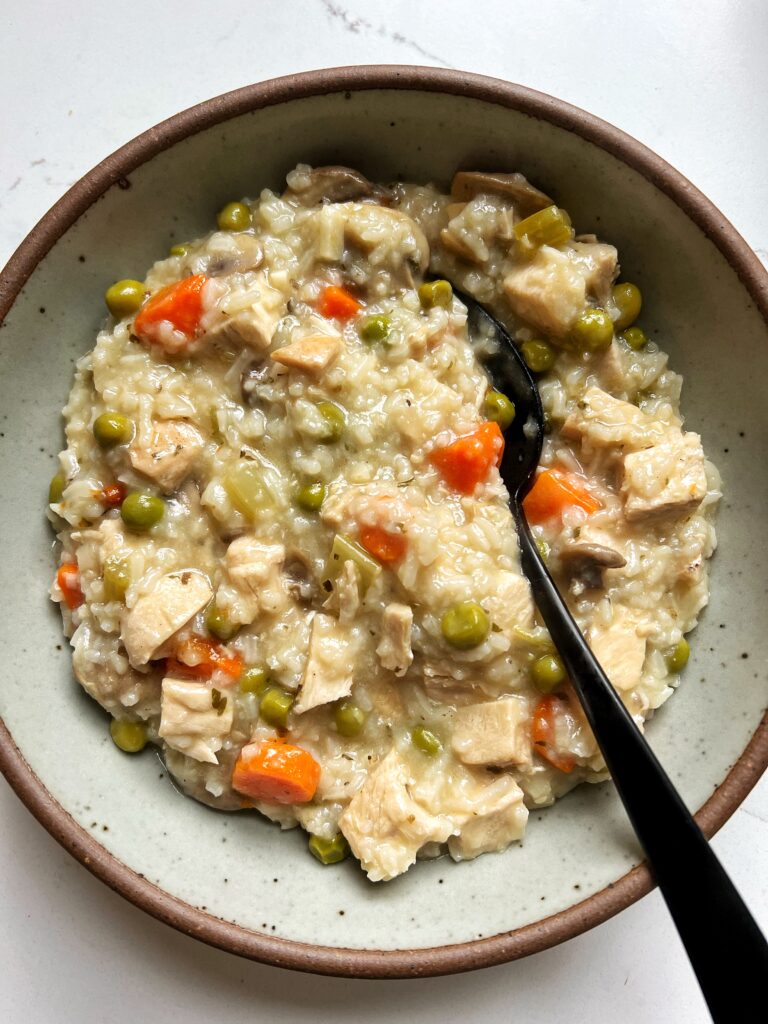
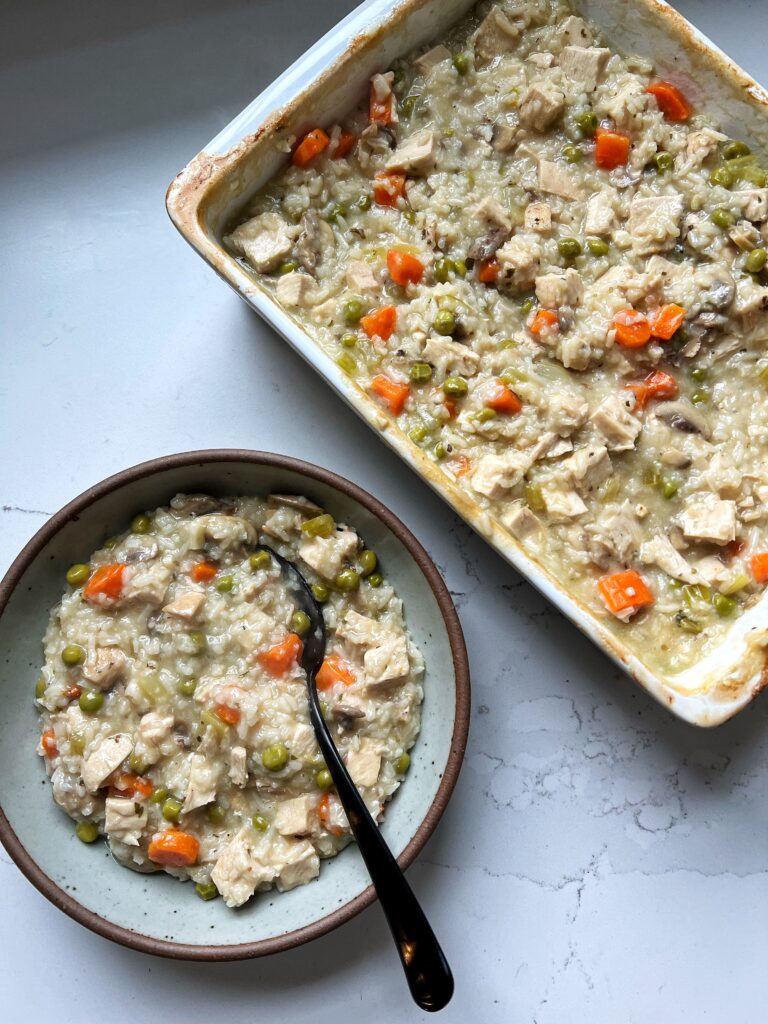
And this chicken pot pie casserole checks off so many boxes! It is comfort food yet made with healthy ingredients and we are making it lighter with coconut milk, no actual pie crust and the entire recipe is gluten-free and dairy-free. Not to mention that you put all the ingredients into a dutch oven to cook then add into your casserole dish. Cook in the oven and your dinner is ready for everyone.
This is definitely one of those meals you crave on a cool rainy day or a cold Sunday in the fall/winter. We will 100% be making this on repeat all season long!
Tip: if you want to save time in the kitchen, use a rotisserie chicken instead of making your own for the casserole.
What ingredients are in Chicken Pot Pie Casserole:
- Olive oil
- Mushrooms – I usually use baby bella but any of your favorites work!
- Yellow onion
- Garlic cloves
- Celery stalks
- Carrot sticks
- Gluten-free all-purpose flour – or use regular all-purpose flour if you want!
- Non-dairy milk – I used full-fat coconut milk for creaminess
- Cooked rice – I used basmati rice
- Frozen peas – we always keep these in the freezer to add to dishes
- Cooked chicken – rotisserie chicken in a great hack for this if you don’t want to make chicken at home
- Chicken broth – or use a veggie based broth
How to make a Chicken Pot Pie Casserole:
-
Preheat the oven to 375ºF and spray a 9×13-inch casserole dish with non-stick cooking spray
-
Heat a large dutch oven over medium/high heat and add olive oil, onion, garlic, celery, carrots, mushrooms, garlic powder, and onion powder to the dutch oven and cook for 5 minutes
-
Sprinkle flour over the vegetables and use a wooden spoon to mix the flour with all of the vegetables until the flour absorbs all of the excess liquid in the pot
-
Turn heat to medium and slowly add the milk to the pot, stirring constantly until milk thickens and remove dutch oven from heat
-
Add in cooked rice, frozen peas, and chicken to the greased casserole dish and mix
-
Next add the contents of the dutch oven to the casserole dish and mix again
-
Add the broth, salt and pepper to the casserole dish and mix until everything is combined
-
Cover the casserole dish with tin foil and place in the oven at 375ºF for 30 minutes
-
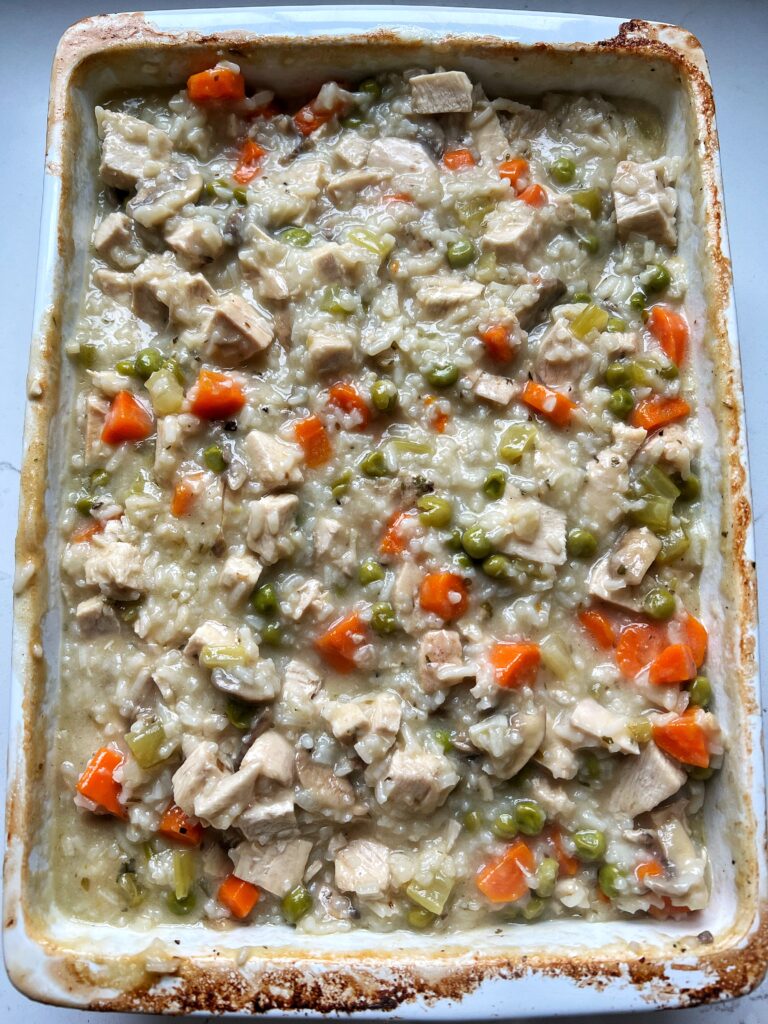
At 30 minutes, remove the tin foil and bake for an additional 30 minutes (I like to mix around the contents and stir every 10 minutes or so)
-
Remove casserole dish from the oven and let sit for at least 10 minutes to fully thicken (it’s okay if there is still liquid – it keeps the dish moist especially for leftovers)
- Serve while warm!
Tips for success making this casserole:
- This is a great recipe to meal prep for the week! My kids and my husband I all love it and it can feed us for a few nights or for lunch.
- If you are looking to make this more traditionally, you can also use regular milk. I prefer a dairy-free version with the coconut milk but any milk really works.
- I either roast my own chicken for this dish or pick up a rotisserie chicken to save time. Either works well in here!
- When reheating, I sometimes add a splash more of milk or water if it looks dry too. I typically reheat it in the microwave or stovetop in a pot if it’s for everyone.
A few other healthy and delicious comfort food dinners to make:
Gluten-free Stromboli with Veggies
The Best No-Boil Mac and Cheese Recipe (gluten-free)
 Share this recipe
Alene
This is gorgeous! I have one problem. I cannot eat rice. Do you think quinoa would work? I hope so. Thank you for all your delicious recipes.
Stella
I made this tonite!!! Soo delicious and easy!! I used almond milk instead of coconut milk!
Thank you for another amazing recipe!!
Danielle
Flavour was amazing! Mine was more soupy but hoping it will thicken up over night. Will definitely make again but would reduce the amount of broth.
RJ Hirsch
a possibility: some coconut flour. it absorbs very large amt of liquid. might start w small amt, maybe 1/4 cup.
Michelle
Hi Rachel. I’m excited to try this recipe but I have one clarification. Is the coconut milk 1/2 cup or 1.5 cups? I’m sure it’s obvious to everyone else 😆 thank you!
Rachel
1 1/2 cups! so 1.5!
Courtney Bristow
Quick question – any suggestions for what to sub for mushroom, or just leave it out? Could just add extra of the veggies that are included.
Rachel
you can sub no problem or omit!
Brooke
One of my favorites!! So creamy and delicious!! Perfect meal for a chilly or rainy night. Just as comforting as a bowl of chicken soup. Also, I left out mushrooms just cuz I don’t love them and it turned out perfect!
Rachel
yay!!
Chelle
Very soupy. Is it supposed to call for uncooked rice, instead of cooked? Would that absorb more of the broth? Thank you!
Rachel
it may have been the type if rice you are using! you can definitely try uncooked rice next time
T
Wonderful! Second time making it. My picky family – each with different tastes – LOVED this recipe! Can you recommend how much salt and pepper to add?
Rachel
so happy to hear!! i usually just do it to taste
Lindsey Ellenwood
Is the cooking time the same if I’m using raw chicken?
Rachel
cook the chicken before!!
Megan
Could I prep this ahead of time and put in fridge until ready to cook? Would you recommend me waiting to add cocnut milk unitl right before cooking?
Rachel
i haven’t done this! i think it could work if you add milk before cooking