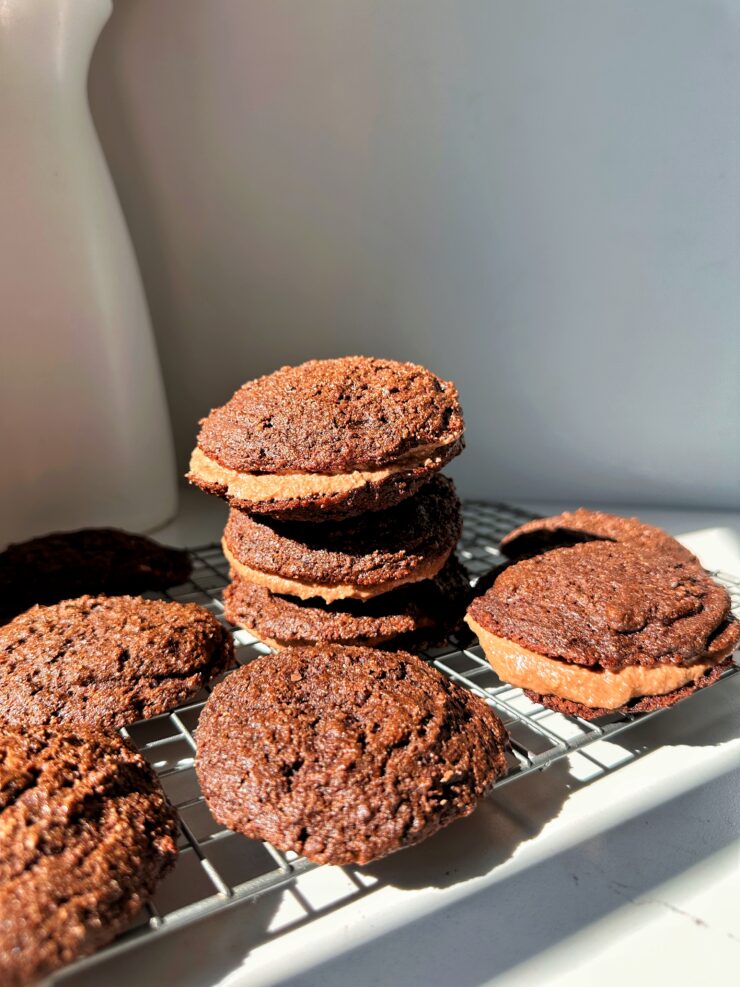
These Hot Chocolate Whoopie Pies are a must try for a sweet dessert! Two homemade devil’s food cake-like cookies filled with a homemade chocolate cream filling. These are gluten-free, vegan and have no refined sugars yet are still crazy good!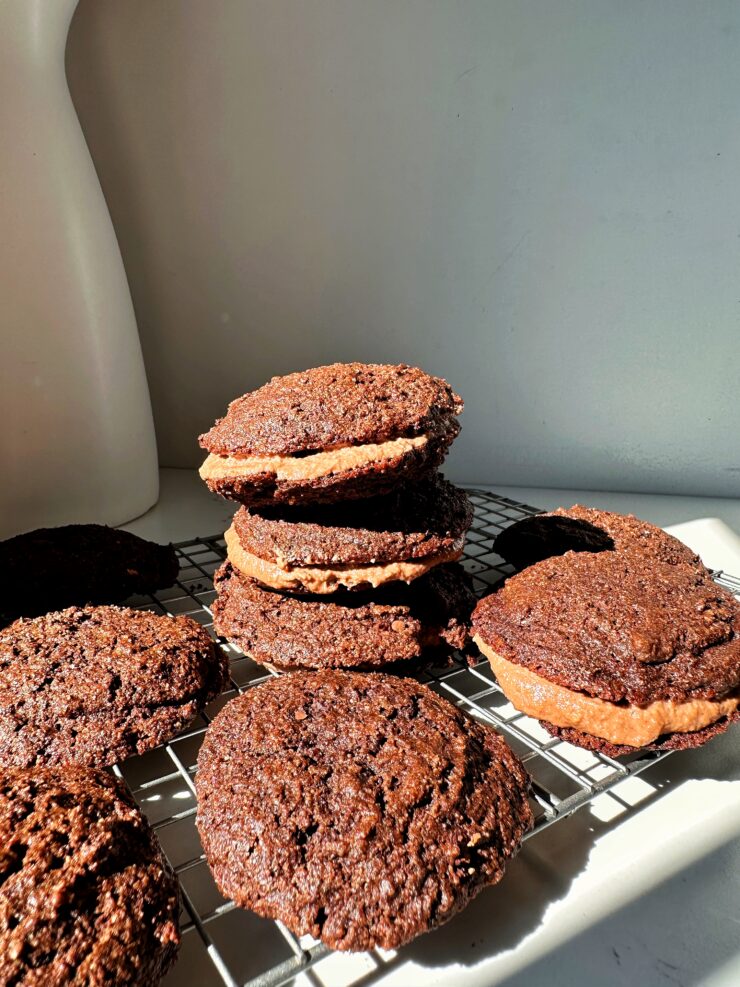
As the weather cools down and the cozy season sets in, there’s nothing quite like indulging in a comforting dessert that’s as decadent as it is nostalgic. Enter: Hot Chocolate Whoopie Pies! These delightful vegan treats combine the classic flavors of hot chocolate with the fun, handheld appeal of whoopie pies. Picture this: two soft, chocolatey cakes sandwiched together with a creamy chocolate filling. It’s the perfect dessert to warm your soul on chilly fall and winter days.
In this post, we’re diving into how to make these Hot Chocolate Whoopie Pies with a few simple ingredients, a step-by-step guide, and tips for ensuring they turn out perfectly every time.
What Are Whoopie Pies?
Whoopie pies, for the uninitiated, are a hybrid of a cookie and cake. They have a soft, cake-like texture with a creamy filling sandwiched in between. Traditionally, whoopie pies consist of chocolate cake cookies filled with a marshmallow cream, but in this recipe, we’re taking things in a plant-based direction with healthier ingredients like almond flour, cacao powder, and a creamy cashew-based filling.
These Hot Chocolate Whoopie Pies are completely dairy-free, made with wholesome ingredients, and give you all the comfort of a cup of hot cocoa in dessert form.
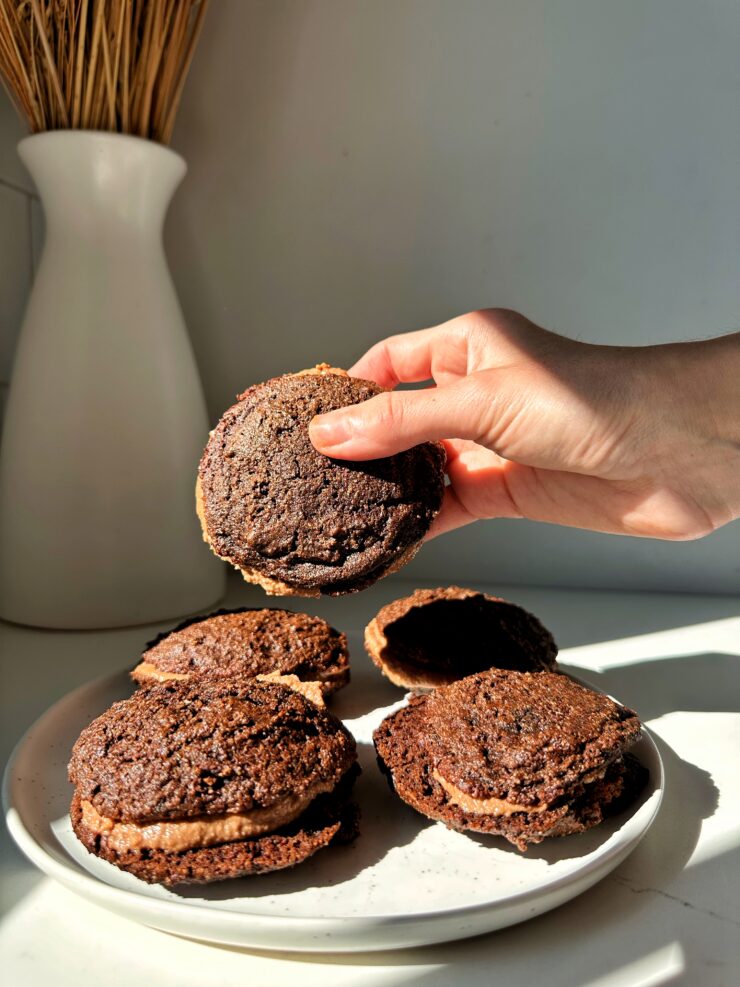
What ingredients you need to make these Hot Chocolate Whoopie Pies:
- Almond milk + apple cider vinegar – Combining almond milk and apple cider vinegar creates a dairy-free buttermilk substitute that helps give these whoopie pies their moist and tender texture. The acidity in the apple cider vinegar reacts with the baking soda, resulting in a fluffier pie.
- Ground flax + water – This combination is used to make a “flax egg,” a plant-based alternative to regular eggs that acts as a binder and helps hold the cookies together.
- Maple syrup – Instead of refined sugar, we’re sweetening these whoopie pies with maple syrup, adding a rich, natural sweetness that pairs beautifully with the cacao.
- Vanilla extract – Added for flavor in the cookies and the cream filling!
- Coconut oil – melted and cooled or use vegan butter if you prefer. Coconut oil (or vegan butter if you prefer) adds moisture and richness to the pies without the need for dairy.
- Almond flour – Almond flour gives the whoopie pies a soft, tender texture while keeping them gluten-free.
- Gluten-free oat flour – I love doing a mix of oat flour with the almond flour in these
- Cacao powder – this makes the cookies and filling chocolatey!
- Raw cashews – soaked in hot water for 30 minutes at least
Instructions:
-
Preheat the oven to 350°F (175°C) and line two baking sheets with parchment paper. Set them aside.
-
Create the almond milk mixture: In a small measuring cup, combine the almond milk and apple cider vinegar. Let this mixture sit for 5 minutes to thicken slightly and curdle, mimicking a dairy-based buttermilk. This step helps with the texture and adds a slight tang to the whoopie pies.
-
Prepare the flax egg: In another small bowl, combine the ground flaxseed and water. Let it sit for about 5 minutes until it thickens to form a flax egg. This mixture will act as a binder in the batter, replacing traditional eggs.
-
Mix the wet ingredients: In a large mixing bowl, whisk together the almond milk mixture, flax eggs, maple syrup, melted coconut oil, and vanilla extract until smooth and well-combined.
-
Add the dry ingredients: To the same bowl, add the almond flour, oat flour, cacao powder, baking soda, baking powder, and sea salt. Mix everything together until you have a smooth, thick batter. Make sure to scrape down the sides of the bowl to ensure all ingredients are evenly incorporated.
-
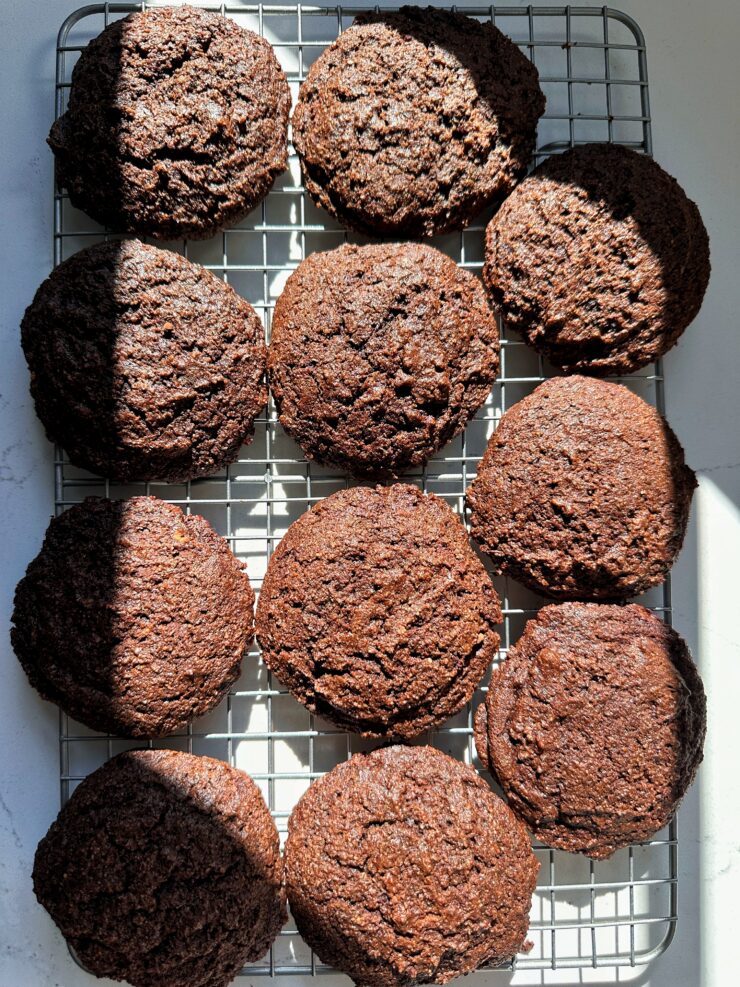
Scoop and shape: Using a cookie scooper, scoop about 1.5 tablespoons of the batter and place each one onto the lined baking sheets. Make sure to leave at least 2 inches between each mound of batter, as the whoopie pies will spread slightly during baking.
-
Bake: Bake in the preheated oven for 12-14 minutes, or until the pies are set and slightly firm to the touch. Be careful not to overbake them — you want them to remain soft and pillowy! Once done, remove from the oven and let them cool completely on the baking sheets for at least an hour. Cooling is key for them to firm up and hold their shape.
-
Prepare the chocolate cream filling: While the whoopie pies are cooling, drain the soaked cashews and add them to a blender or food processor. Add in the almond milk, maple syrup, apple cider vinegar, vanilla extract, and a pinch of sea salt. Blend until the mixture is completely smooth and creamy.
-
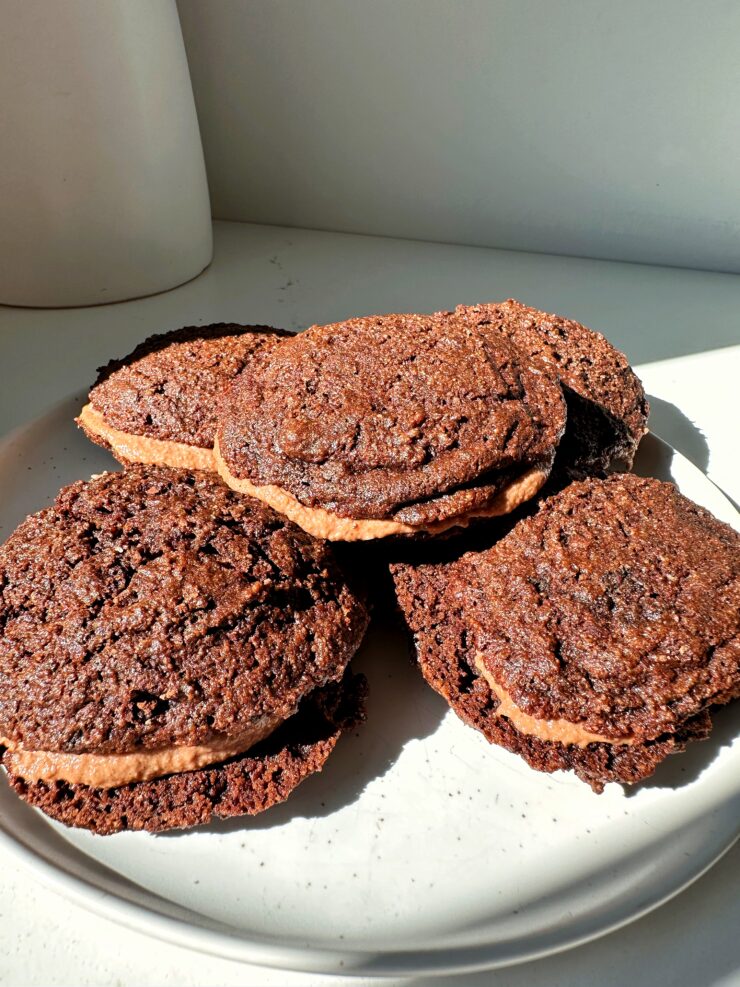
Assemble the whoopie pies: Once the cookies are fully cooled, it’s time to assemble your whoopie pies! Spread a generous amount of the cashew cream filling on the flat side of half the cookies. Top each filled cookie with another cookie, flat side down, to create a sandwich.
Recipe Tips:
- Cooling Time is Crucial: As tempting as it may be to eat the cookies fresh out of the oven, resist the urge! Cooling them fully allows them to firm up and hold their shape when you add the filling.
- Creamy Cashew Filling: If your cashew filling is too thick, add a little more almond milk until you reach your desired consistency. It should be creamy but thick enough to hold its shape between the cookies.
- Make-Ahead: You can prepare the cookies ahead of time. Store them in the fridge for up to three days before assembling.
Hot Chocolate Whoopie Pies are the ultimate cozy dessert. Perfect for when you want to indulge in something chocolatey and sweet. The combination of rich cacao and the creamy cashew-based filling is simply divine. Plus, they’re made with better-for-you ingredients, so you can enjoy them without the guilt. Whether you’re making them for a festive gathering, or a cozy night in, these whoopie pies are sure to be a hit.
Happy baking!
A few other delicious chocolatey desserts to try:
DELISH Banana Bread Brownies (gluten-free)
Brown Butter Brownies (gluten-free)
Gluten-free Deep Dish Chocolate Chip Cookie with Caramel
The BEST Chocolate Brownie Pie (gluten-free)
PrintHot Chocolate Whoopie Pies (vegan + gluten-free)
These Hot Chocolate Whoopie Pies are a must try for a sweet dessert! Two homemade devil’s food cake-like cookies filled with a homemade chocolate cream filling. These are gluten-free, vegan and have no refined sugars yet are still crazy good!
- Prep Time: 10 mins
- Cook Time: 12 mins
- Total Time: 75 minutes
Yield: 8–10 whoopie pies 1x
Ingredients
For the whoopie pies:
- 1/2 cup almond milk
- 1 teaspoon apple cider vinegar
- 2 tablespoons ground flax + 3 tablespoons water
- 1/4 cup maple syrup
- 1 teaspoon vanilla extract
- 1/3 cup coconut oil, melted and cooled (or use vegan butter)
- 1/2 cup coconut sugar
- 3/4 cup almond flour
- 3/4 cup gluten-free oat flour
- 1/2 cup cacao powder
- 1 teaspoon baking powder
- 1/2 teaspoon baking soda
- 1/2 teaspoon sea salt
Chocolate cream filling:
- 1 1/2 cups raw cashews, soaked in hot water for 30 minutes at least
- 1/4 cup cacao powder
- 1/3 cup almond milk
- 2 tablespoons maple syrup
- 2 teaspoons apple cider vinegar
- 1 teaspoons vanilla extract
- Pinch of sea salt
Instructions
- Preheat oven to 350 degrees F and line 2 baking sheets with parchment paper and set aside
- In a measuring cup, combine 1/2 cup almond milk and 1 teaspoon acv and set aside
- In another small bowl, mix the ground flaxseed and water to make flax egg and set aside
- In a large bowl, combine the almond milk mixture, flax eggs, maple syrup, coconut oil, vanilla extract and coconut sugar until smooth
- Add in the almond flour, oat flour, cacao powder, baking soda, baking powder and salt and mix together until fully combined and no lumps remain (make sure to scrape down the sides with a spatula!)
- Using a cookie scooper, scoop out about 1.5 tablespoons of the batter at a time and place onto the lined baking sheet (leave 2-inches between each cookie)
- Bake in oven for 12-14 minutes
- Set aside to cool for at least an hour (do not skip this) so the cookies can firm up a bit
- While the cookies cool, make the cream filling but draining the cashews then adding everything to a blender and blending until smooth and creamy
- Spread the cream filling across half the cookies then sandwich another cookie on top to create “whoopie pies”
- Serve and enjoy!
Notes
*Store in airtight container for 2 days or 7 days in fridge or 2 months in freezer
 Share this recipe
julia
These are delicious and even better once they’ve been refrigerated! The flavors meld so well- a wonderful treat. Make them!
Rachel
LOVE thanks julie!!!!