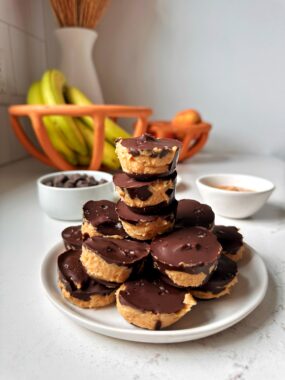
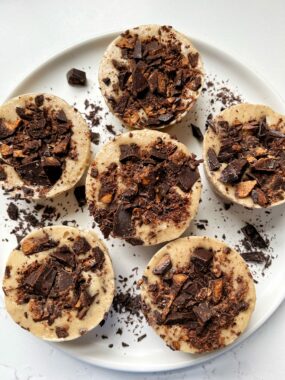
These High-Protein Creamy Peanut Butter Cups are a MUST try!! They’re gluten-free, low in sugar and such a good recipe to try if you want something healthy but sweet!
Who doesn’t love a good peanut butter cup? Rich, creamy, and irresistibly delicious, they’re a treat that many of us find hard to resist. But what if I told you that you could enjoy this classic confection while also boosting your protein intake and keeping things on the healthier side? Enter High-Protein Creamy Peanut Butter Cups! This delightful recipe incorporates Greek yogurt, peanut butter, maple syrup, and dark chocolate to create a nutritious, indulgent snack that satisfies your sweet tooth without derailing your healthy eating habits.
Why High-Protein Snacks?
Before we dive into the recipe, let’s talk about why high-protein snacks are beneficial. Protein is essential for building and repairing tissues, making enzymes and hormones, and supporting overall bodily functions. It also plays a crucial role in satiety, helping you feel full and satisfied longer, which can aid in weight management. By incorporating high-protein snacks into your diet, you’re not only indulging in something tasty but also fueling your body with necessary nutrients.
These High-Protein Creamy Peanut Butter Cups are perfect for any time of the day. Enjoy one as a mid-morning snack to keep your energy levels up, or savor one after dinner for a guilt-free dessert. They’re also great for pre- or post-workout fuel, thanks to their protein content.
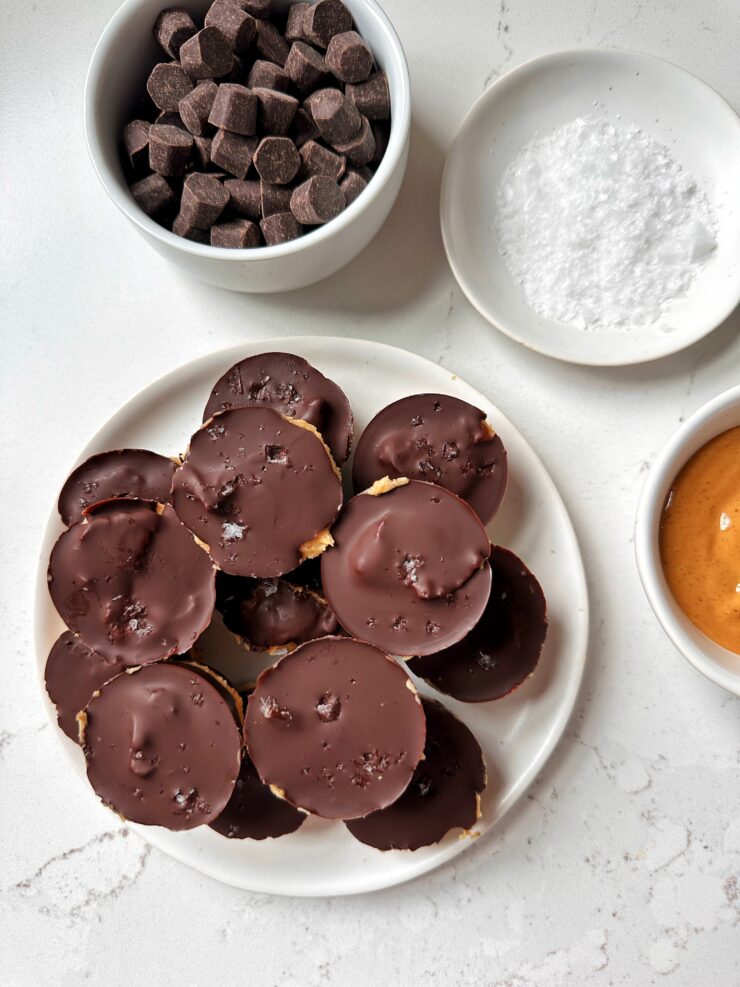
Ingredients for High-Protein Creamy Peanut Butter Cups:
Here’s what you’ll need to make these delectable treats:
- Greek yogurt: Greek yogurt is a fantastic source of protein and adds a creamy texture to the filling.
- Creamy peanut butter: Peanut butter is rich in protein and healthy fats, providing a deliciously nutty flavor.
- Maple syrup: Maple syrup is a natural sweetener that adds just the right amount of sweetness without the need for refined sugars.
- Dark chocolate chips: Dark chocolate not only satisfies chocolate cravings but also contains antioxidants and less sugar than milk chocolate.
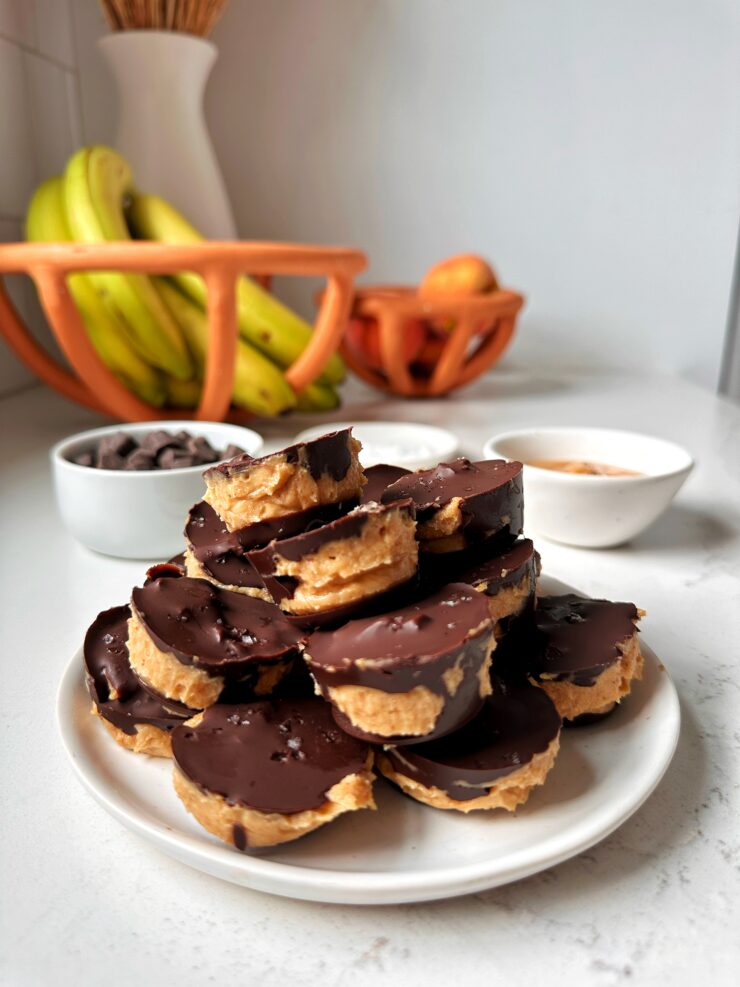
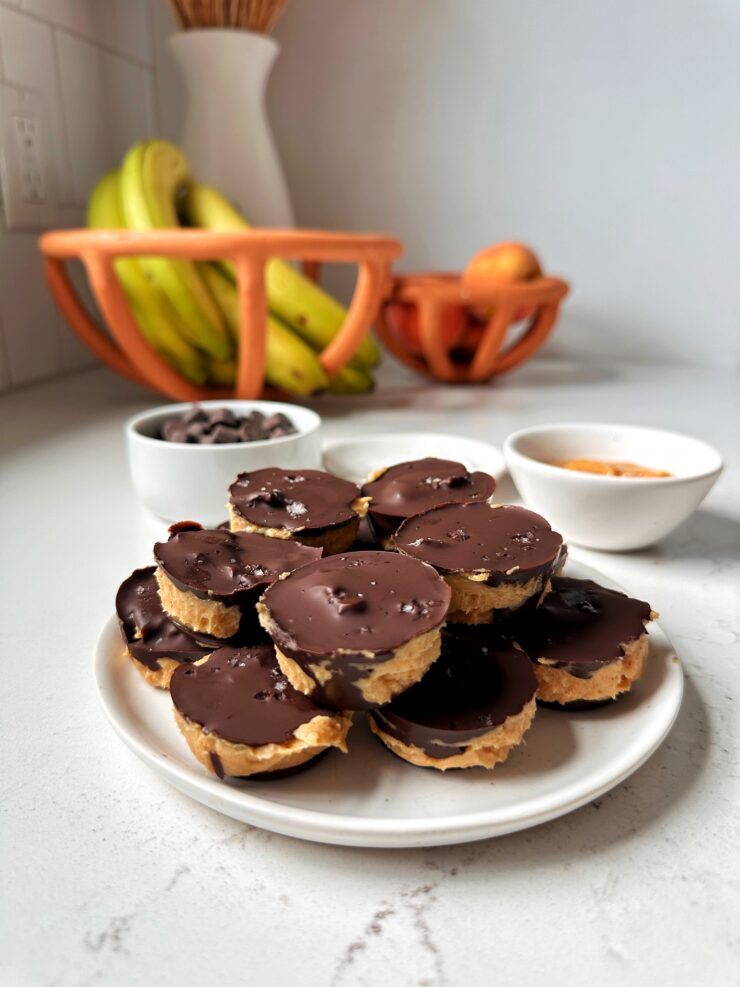
Making these protein peanut butter cups:
- Start by mixing the Greek yogurt, peanut butter, and maple syrup in a medium bowl. Stir until the ingredients are well combined and the mixture is smooth and creamy. The Greek yogurt adds a tangy note that complements the rich, nutty flavor of the peanut butter, while the maple syrup provides a hint of natural sweetness.
- Next, melt the dark chocolate chips. You can do this in a microwave-safe bowl in 30-second intervals, stirring between each interval until the chocolate is completely melted. Alternatively, use a double boiler for a gentler melting process.
- Take out silicone mini muffin tin. Spoon a small amount of melted dark chocolate into the bottom of each liner, just enough to cover the base. Place the tin in the refrigerator or freezer for a few minutes to allow the chocolate to set.
- Once the chocolate has hardened, add a generous spoonful of the peanut butter mixture on top of the chocolate layer. Use the back of the spoon to smooth it out, ensuring the peanut butter mixture is evenly distributed.
- Finally, cover the peanut butter layer with another spoonful of melted dark chocolate, spreading it evenly to seal the filling inside. Place the muffin tin back in the refrigerator for at least 1-2 hours, or until the chocolate has fully set and the cups are firm.
Customizing Your Peanut Butter Cups:
One of the best things about this recipe is its versatility. Here are a few ideas to customize your peanut butter cups:
- Add a crunch: Mix in some chopped nuts, seeds, or even granola into the peanut butter mixture for added texture.
- Switch up the nut butter: Try using almond butter, cashew butter, or even sunflower seed butter for a different flavor profile.
- Sweeten it up: If you prefer a sweeter treat, add a little more maple syrup to the peanut butter mixture or drizzle some on top of the finished cups.
- Get creative with toppings: Sprinkle a pinch of sea salt, shredded coconut, or cacao nibs on top of the chocolate layer before it sets for an extra flavor boost.
Storing Your Creamy High-Protein Peanut Butter Cups:
To keep your High-Protein Creamy Peanut Butter Cups fresh, store them in an airtight container in the refrigerator. They should last up to two weeks, though we doubt they’ll stick around that long once you taste how delicious they are!
Indulging in sweet treats doesn’t have to mean compromising on nutrition. With these High-Protein Creamy Peanut Butter Cups, you get the best of both worlds: a rich, decadent snack that also provides a healthy dose of protein. They’re easy to make, customizable, and perfect for satisfying your sweet cravings while supporting your health goals.
So, the next time you’re in the mood for something sweet, skip the store-bought options and whip up a batch of these homemade delights. Your taste buds—and your body—will thank you!
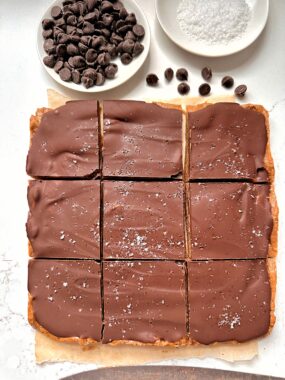
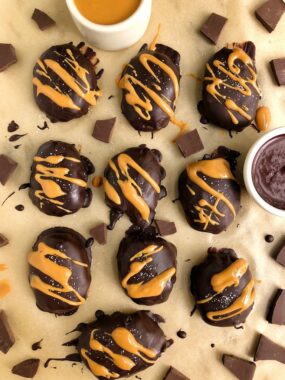
A few other recipes to make if you love chocolate candy:
Easy Healthier Butterfinger Bars
The BEST Gluten-free Twix Bars!
Healthy Snickers Recipe (gluten-free)
The Best Healthy Candy Recipes (DIY Candy Ideas!)
PrintHigh-Protein Creamy Peanut Butter Cups
- Prep Time: 20 mins
- Total Time: 1 hour
Yield: 12–16 mini pb cups 1x
Ingredients
- 1/2 cup creamy peanut butter
- 1/2 cup plain Greek yogurt
- 1/4 cup maple syrup or honey
- 1 1/2 cups dark chocolate chips
Instructions
- Start by mixing the Greek yogurt, peanut butter, and maple syrup in a medium bowl. Stir until the ingredients are well combined and the mixture is smooth and creamy. The Greek yogurt adds a tangy note that complements the rich, nutty flavor of the peanut butter, while the maple syrup provides a hint of natural sweetness.
- Next, melt the dark chocolate chips. You can do this in a microwave-safe bowl in 30-second intervals, stirring between each interval until the chocolate is completely melted. Alternatively, use a double boiler for a gentler melting process.
- Take out silicone mini muffin tin. Spoon a small amount of melted dark chocolate into the bottom of each liner, just enough to cover the base. Place the tin in the refrigerator or freezer for a few minutes to allow the chocolate to set.
- Once the chocolate has hardened, add a generous spoonful of the peanut butter mixture on top of the chocolate layer. Use the back of the spoon to smooth it out, ensuring the peanut butter mixture is evenly distributed.
- Finally, cover the peanut butter layer with another spoonful of melted dark chocolate, spreading it evenly to seal the filling inside. Place the muffin tin back in the refrigerator for at least 1-2 hours, or until the chocolate has fully set and the cups are firm.
Notes
*Store in freezer for 2 months
 Share this recipe
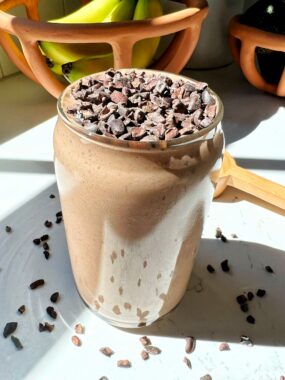

monica
Rachel,
I love all your recipes. You are amazing! I was about to make the protein peanut butter cups . Could you please recommend your favorite youbrand of yogurt.
Thank you!
monica
Rachel,
I was about to make the protein peanut butter cups . Could you please recommend your favorite youbrand of yogurt.
Thank you!
Judi Bodnoff
These look great. Do you use all natural ( just peanut) peanut butter or commercial peanut butter like Jif?
Rachel
thank you!!!