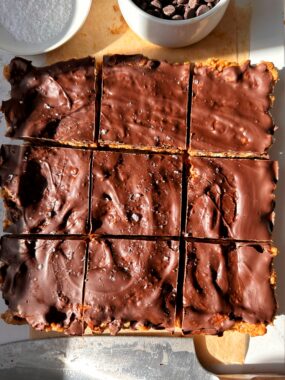
If you love Butterfingers, you must try these easy Butterfinger bars! They are super simple to make with just 4 ingredients and they are gluten-free, vegan-friendly and take minimal effort to make.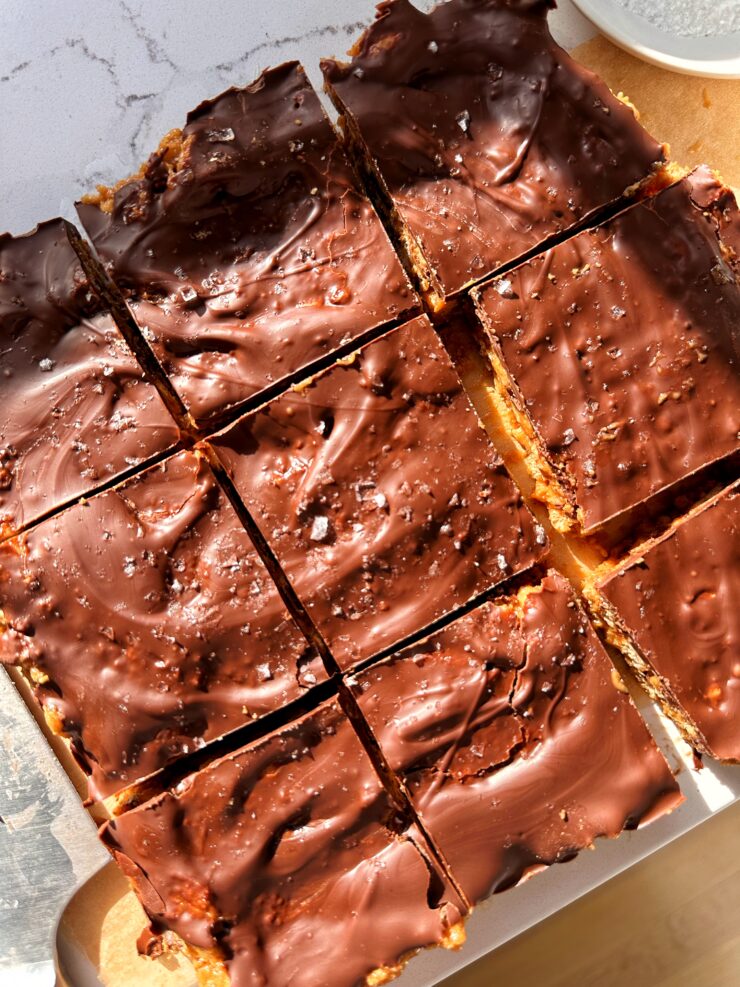
I am on a bit of a roll here on my website sharing any and all candy recipes with a healthier twist. Making candy is incredibly easy yet it can be so intimidating to many to make. I like to think I can make it easier for anyone to make it too. And the best part is that my versions of candy are much healthier than the store-bought versions, yet they’re still so delicious.
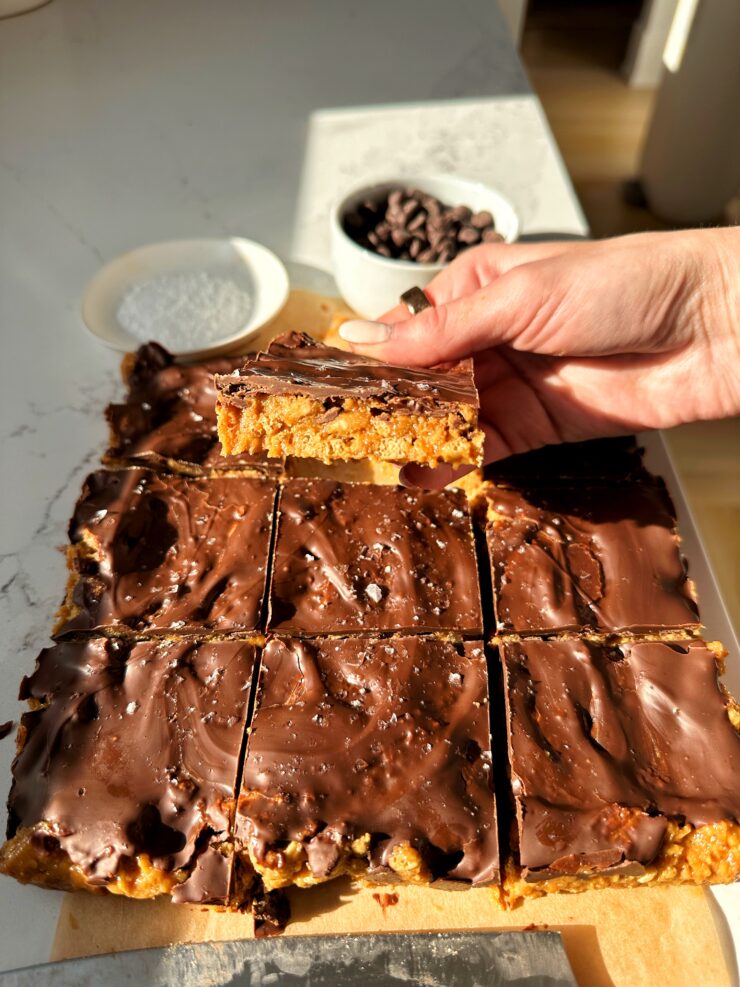
These butterfinger bars are such an amazing option for when you want something sweet, crunchy, a little peanut buttery and you don’t want to turn your oven on!
You will obsess over how quickly these butterfinger bars come together. They take less than 15 minutes to prepare and you just add them to the freezer to set. And they stay good in the freezer for about 2 months. But I can promise you that they’ll be donezo way before that.
This recipe makes about 9 bars, but if you want more you can also double the recipe and make them in a large baking dish too or just do it in two different 8×8 baking dishes.
I can’t wait to hear what you think of this recipe. Let me know if you try it too!

What ingredients you need to make these Butterfinger Bars:
- Creamy peanut butter – you can use any nut butter you want. It can be an almond butter, cashew butter or even sunflower butter or tahini butter for nut butter too.
- Maple syrup – if you don’t like maple syrup, you can also use honey
- Cereal – I used this one (code RACHL30) but you can use your preferred cereal. Something simple like these work or like a cornflake or rice crisp cereal
- Chocolate chips – really dark chocolate, milk chocolate or semi-sweet can work
How to make Butterfinger Bars:
- Line an 8×8 baking dish with parchment paper and grease
- In a large bowl, mix together peanut butter and maple syurp until mix together
- Add the cereal to a large ziplock bag and break apart the cereal so it’s crushed up about half way (some pieces are whole and some broken)
- Next add cereal to mixing bowl and mix all together until evenly combined
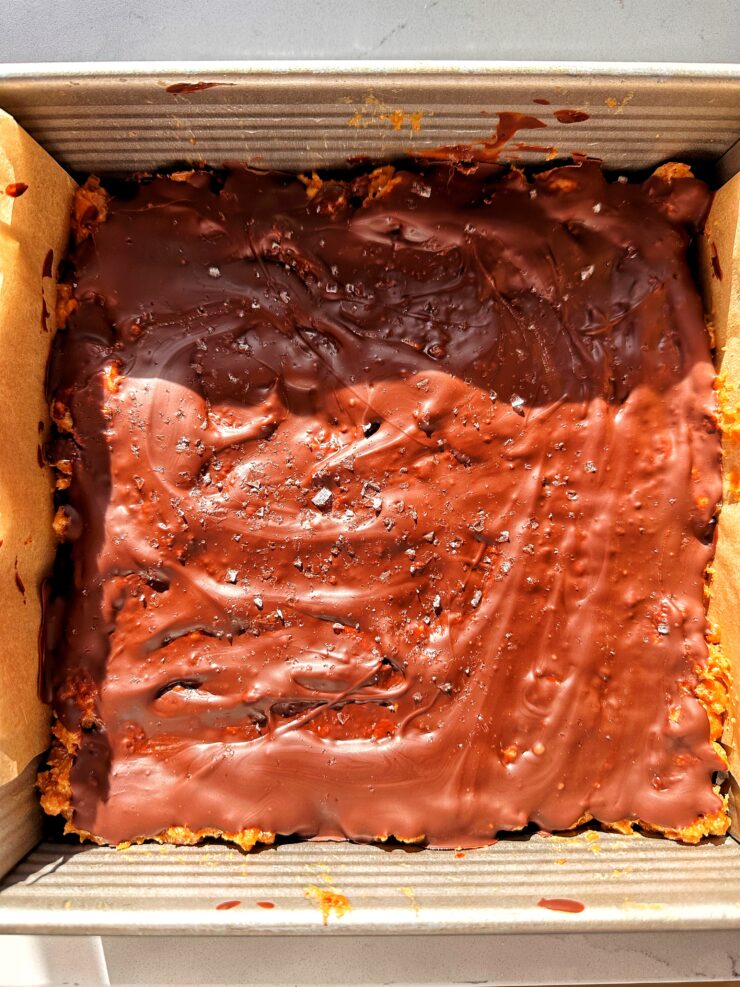
- Add to baking dish and press down firmly to form to dish
- Pour melted chocolate over top and spread evenly
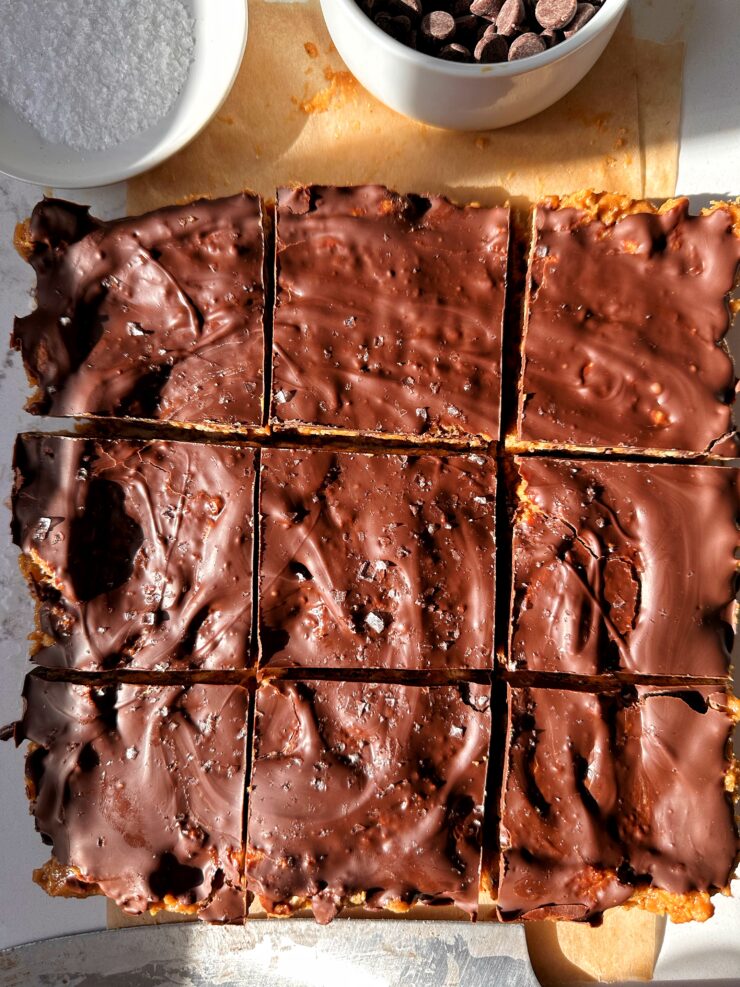
- Sprinkle sea salt on top if desired then add to freezer to set for 1 hour
- Gently remove from baking dish and slice into 9 bars and enjoy!
FAQs and tips on making Butterfingers:
- Can I make these nut-free? For sure! Use tahini or sunflower butter if you want. If you can eat nuts but just not peanuts, almond or cashew butter is also a great option too.
- Want to take these up a few notches? Add some crushed up peanuts on top of the chocolate before it sets, drizzle peanut butter on top or even some sprinkles could be fun.
- What is the best way to store these bars? In the freezer for 2 months. I like to let mine thaw out for a few minutes before eating too.
- Can I double this recipe? Yup! Double it then make it in two 8×8 baking dishes or in a larger baking dish if you prefer.
- Can I use honey instead of maple syrup? Yes you can! Even date syrup can work well too.
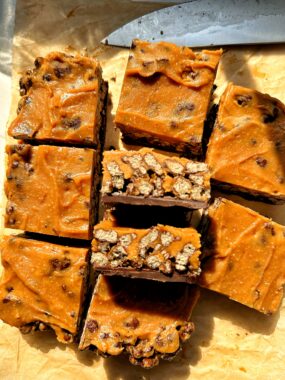
A few other homemade candy recipes to try:
Healthy Snickers Recipe (gluten-free)
4-ingredient Reese’s Bars (gluten-free)
The BEST Gluten-free Twix Bars!
Healthier Copycat Reese’s Eggs (vegan + gluten-free)
PrintEasy Healthier Butterfinger Bars
If you love Butterfingers, you must try these easy Butterfinger bars! They are super simple to make with just 4 ingredients and they are gluten-free, vegan-friendly and take minimal effort to make.
- Prep Time: 10 mins
- Cook Time: 0 mins
- Total Time: 1 hours
Yield: 9 bars 1x
Ingredients
- 1 cup creamy peanut butter
- 1/2 cup maple syrup
- 4 cups cereal – I used this one (code RACHL30)
- 1 1/2 cup chocolate chips, melted
Instructions
- Line an 8×8 baking dish with parchment paper and grease
- In a large bowl, mix together peanut butter and maple syurp until mix together
- Add the cereal to a large ziplock bag and break apart the cereal so it’s crushed up about half way (some pieces are whole and some broken)
- Next add cereal to mixing bowl and mix all together until evenly combined
- Add to baking dish and press down firmly to form to dish
- Pour melted chocolate over top and spread evenly
- Sprinkle sea salt on top if desired then add to freezer to set for 1 hour
- Gently remove from baking dish and slice into 9 bars and enjoy!
Notes
*Store butterfinger bars in freezer for 2 months
 Share this recipe


Marisa
I think there’s a typo. The directions say to leave them in the freezer to set for a year.
Rachel
haha!! oh my goodness, yes!!! just adjusted! thank you!
Gina
These look amazing! However the link for the cereal you use only takes me back to the recipe. Could u let me know what cereal is used? Thank you so much
Rachel
that’s odd! it works on my end ! try using the link where it says code RACHL30